


You want your child to love learning, not tolerate it. The most fun STEM projects aren't the ones that look impressive on Instagram—they're the ones your child chooses to return to again and again, where curiosity compounds into genuine capability. In this guide, you'll learn how to evaluate projects for developmental fit, identify which skills they actually build, and create a selection framework that honors both your child's interests and your investment in their future. We'll walk through concrete assessment criteria, progressive complexity markers, and how to spot projects that transition smoothly into industry-standard tools. Expect about 20 minutes to work through this framework, then a lifetime of watching your child choose challenge over entertainment.
What You'll Need


Before you can choose the most fun STEM projects, gather these assessment tools:
- Your child's current skill inventory – What can they already do independently? List concrete capabilities, not just grade level
- Age-appropriate milestone charts – See Understanding Skill Milestones: What 10 Year Olds Can Master in STEM for developmental benchmarks
- Technical compatibility checklist – Device requirements, OS support, offline vs cloud functionality
- Space and infrastructure assessment – Power access, ventilation needs, storage for ongoing projects
- Budget framework – Initial investment plus consumables, subscriptions, expansion costs
- Learning path map – Where does this project fit in a 2-3 year progression?
- Your family's screen-time values – Non-negotiables around device use and supervision
- Time availability – Realistic project completion windows for your household rhythm
Step 1: Start With Skill Outcomes, Not Product Categories
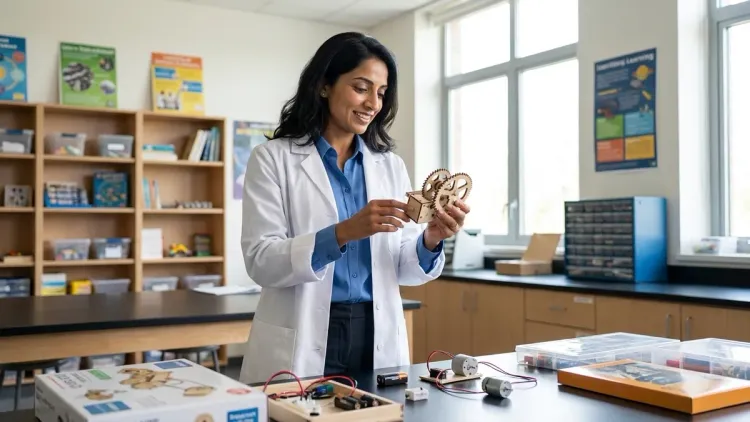
Your child doesn't need "a robotics kit"—they need to master sequential logic, troubleshoot sensor failures, and document iterative design changes. The most fun STEM projects teach transferable capabilities that show up across disciplines.
Begin by identifying which skill families matter most for your child's developmental stage. For children ages 6-8, prioritize spatial reasoning, cause-and-effect prediction, and systematic trial-and-error. Ages 9-11 benefit from projects teaching algorithmic thinking, data interpretation, and collaborative problem-solving. Teenagers need exposure to industry-standard workflows: version control, technical documentation, iterative prototyping.
Write down three specific skills you want your child to develop this year. "Better at math" isn't specific enough—try "can write pseudocode to solve multi-step logic puzzles" or "understands how sensor accuracy affects data reliability." These concrete targets help you filter thousands of project options down to the handful that actually advance your goals.
Watch for projects that build nested skills—where each new capability requires mastering previous ones. A wind turbine engineering kit that teaches gear ratios, electrical generation, and efficiency optimization creates a natural progression. Your child can't optimize what they haven't built, and they can't measure efficiency without understanding the baseline system.
The projects children return to most often are the ones with visible competency growth. They want to see themselves getting better at something hard, not just completing another activity.
Step 2: Evaluate Technical Dependencies and Long-Term Viability
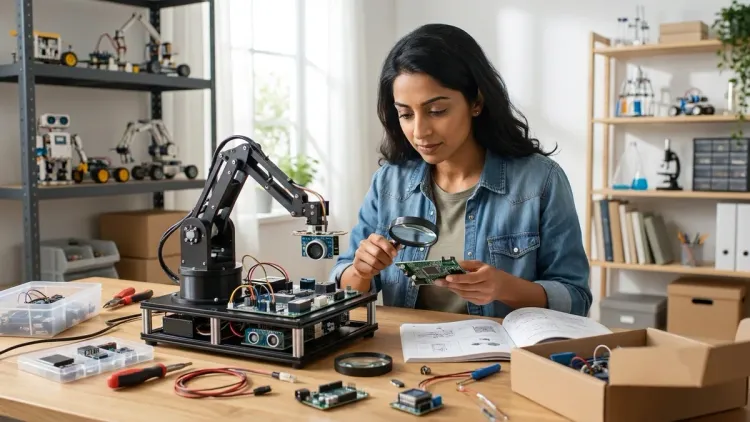
You're not buying a project—you're buying into an ecosystem. The most fun STEM projects are the ones that remain usable as your child's skills advance, not the ones gathering dust after initial novelty wears off.
Check whether projects require subscriptions, cloud accounts, or consumable materials. A robotics platform like the LEGO Education SPIKE Prime Set uses Arduino-compatible programming but requires proprietary expansion packs for advanced functionality. That's not inherently bad, but you need to know the total cost of ownership over 2-3 years. Will your child outgrow it before you've recovered the investment in skills?
Examine software compatibility carefully. Does the project require Windows-only software, or does it work across platforms? Can your child export their code and use it elsewhere, or is everything locked in a proprietary environment? Projects built on Scratch, Python, or Arduino IDE prepare children for tools used in actual engineering workflows. Closed ecosystems teach dependency, not capability.
Consider offline functionality. Some of the most engaging projects—like screen-free coding kits—eliminate screen time entirely while building computational thinking. Others require constant internet connectivity for cloud rendering or online tutorials. Neither is wrong, but they serve different family values.
Assess expandability and interoperability. Can your child combine this project with things they already own? Platforms using standard components (like Arduino sensors or 3D-printed brackets) let children remix and recombine. Proprietary systems force repurchasing.
Step 3: Match Cognitive Load to Your Child's Frustration Tolerance
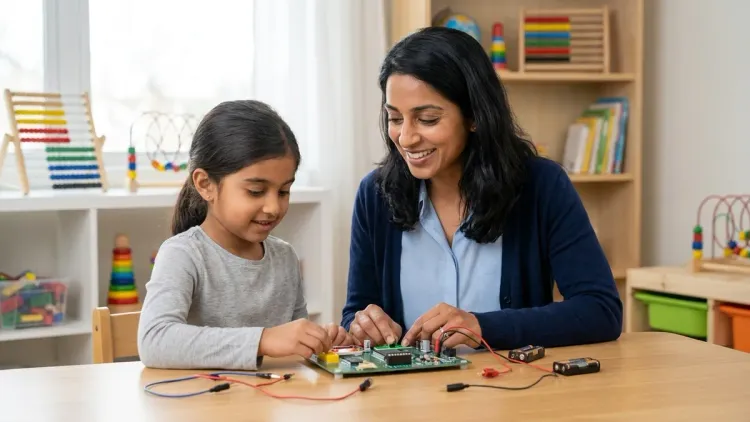
The most fun STEM projects live in that narrow band where challenge exceeds current ability by just enough to stay interesting, but not so much that failure feels inevitable. Developmental psychologists call this the zone of proximal development—the sweet spot where struggle produces growth instead of shutdown.
Observe how your child responds to difficulty in other contexts. Do they persist through confusion, or do they need quick wins to maintain motivation? Some children thrive on complex, weeks-long builds with delayed gratification. Others need modular projects where they can complete meaningful sub-tasks daily.
Age recommendations on boxes rarely reflect cognitive readiness. A "10+" robotics kit might overwhelm a concrete thinker while boring an abstract reasoner. Look instead for projects with adjustable complexity—multiple build options, scaffolded tutorials, or open-ended challenges after completing a guided sequence.
Pay attention to documentation quality. The difference between a frustrating project and a fun one often comes down to whether instructions anticipate common mistakes. Good tutorials show what success looks like and what failure modes to avoid. They teach debugging as a skill, not just "follow these steps."
Consider the supervision requirement. Younger children need projects they can complete with you present but not constantly directing. Teenagers need projects challenging enough that you can't solve them together—where they're genuinely building skills beyond your own. That shift matters psychologically.
I've watched my own daughter abandon beautifully designed kits because one step assumed knowledge she didn't have. The project wasn't too hard—the instructions assumed too much. That gap determines whether a child experiences challenge as exciting or insurmountable.
Step 4: Identify Which Industry-Standard Tools the Project Teaches
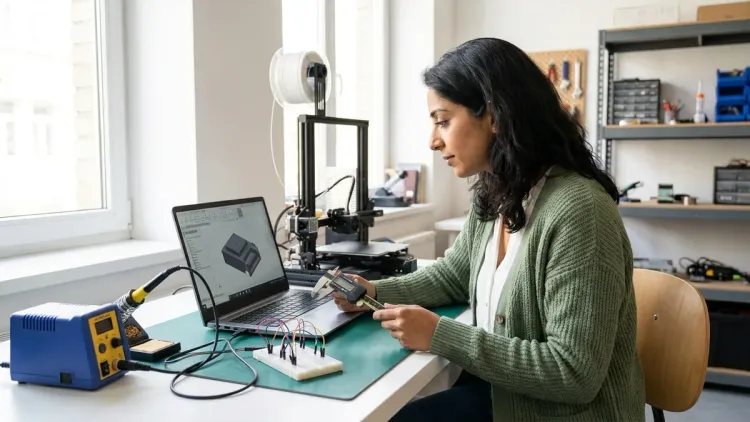
Fun matters, but future-facing skills transform a project from entertainment into investment. The most valuable STEM projects teach tools and workflows your child will encounter again in advanced coursework, competitions, or early career exploration.
Look for projects built on professional platforms. Arduino-based robotics kits teach C++ programming in an environment used by hobbyists and professionals worldwide. Raspberry Pi projects introduce Linux command-line navigation. CAD-based design projects like those using Tinkercad or Fusion 360 teach the same 3D modeling principles used in mechanical engineering and industrial design. See How to Teach Kids 3D Design Skills with Tinkercad and Fusion 360 for progressive learning paths.
Contrast this with proprietary systems that simulate professional tools without teaching transferable skills. A visual programming language that exists only within one product line doesn't prepare children for anything beyond that ecosystem. Block-based coding that translates to Python or JavaScript builds real capability; block-based coding that exists in isolation teaches dependency.
Check whether projects introduce industry terminology and workflows. Does the citizen science kit teach proper sensor calibration procedures? Does the 3D printing project explain tolerances, infill patterns, and support structures using terms your child will encounter in engineering documentation?
The transition from educational tools to professional ones should feel gradual, not abrupt. Projects that use "kid-friendly" interfaces while maintaining technical accuracy underneath prepare children to level up naturally. Those that oversimplify create knowledge gaps that need correcting later.
Step 5: Assess Physical Durability and Lab Specs

The most fun STEM projects are the ones that survive your child's actual learning process—which includes dropped components, incorrect voltage connections, and the occasional moment of creative destruction.
Evaluate build quality for repeated assembly and disassembly. Snap-together robotics kits with proprietary connectors often develop loose joints after 10-15 builds. Systems using standardized mounting holes and screws tolerate more experimentation. LEGO-based platforms excel here: nearly indestructible components that maintain compatibility across generations of products.
Check power requirements against your home lab setup. Does the project need dedicated circuits, ventilation, or supervision because of heat/fumes? A basic Arduino robotics kit runs on USB power and generates no safety concerns. A teen-appropriate 3D printer requires dedicated space, fire-safe surfaces, and potentially ventilation depending on filament type.
Consider consumables and replacement parts. Electronics projects using breadboards and jumper wires cost pennies to replenish. Robotics kits with proprietary motors or sensors lock you into expensive manufacturer replacements. This impacts how freely your child can experiment—will they avoid risky-but-educational experiments because parts are irreplaceable?
Storage and project persistence matter more than parents expect. Can your child leave a project mid-progress without fully disassembling it? Projects requiring complete teardown between sessions interrupt cognitive continuity. A dedicated learning space solves this—see How to Build a Home STEM Lab: Complete Setup Guide for Skill-Building Success for infrastructure planning.
My son abandoned an impressive robotics platform not because it was too difficult, but because setup took 20 minutes each session. Friction kills momentum.
Step 6: Map the Project Into a Progressive Learning Path
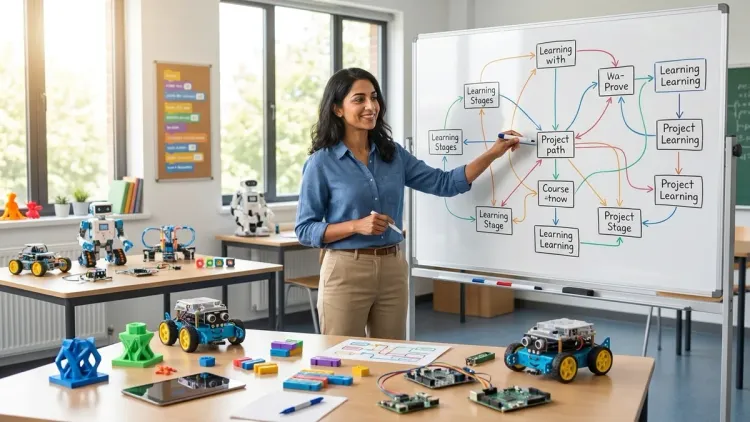
No single project builds comprehensive STEM skills. The most fun STEM projects are the ones that connect to what came before and lead naturally to what comes next.
Before choosing any project, ask: What prerequisite skills does this require? A machine learning project teaching supervised classification assumes your child understands data collection, variable relationships, and basic statistics. Skipping those foundations creates confusion, not capability. Check whether your child has completed appropriate precursor projects or if you need to backfill gaps first.
Next, identify what this project unlocks. A citizen science kit teaching environmental data collection naturally progresses to projects analyzing that data, then to projects predicting patterns from historical datasets. Each layer requires skills from previous ones while introducing new complexity.
Horizontal vs. vertical progression both matter. Horizontal progression keeps difficulty constant while teaching related skills—moving from light sensors to temperature sensors to humidity sensors all at the same complexity level. Vertical progression increases difficulty within a skill domain—from reading sensor data to calibrating sensors to designing multi-sensor arrays that cross-validate measurements.
The ideal learning path alternates: master horizontal variety at one level, then step up vertically, then explore horizontal variety at the new level. This prevents both boredom (repeating similar challenges) and overwhelm (too many new concepts simultaneously).
Use How to Design a Progressive STEM Learning Path in Your Home Lab to create a 2-3 year roadmap. Projects chosen randomly, no matter how individually excellent, don't compound into mastery.
Step 7: Consider Screen-Time Balance and Tactile Learning Needs
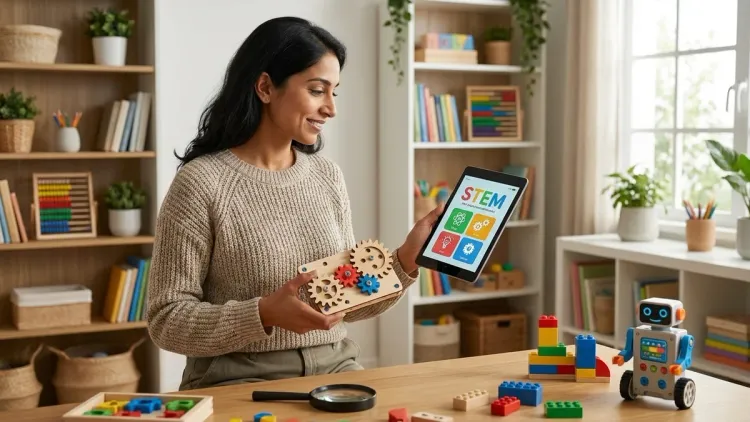
The relationship between digital interfaces and developmental outcomes isn't simple—but it's also not optional to consider. The most fun STEM projects honor your family's screen-time values while building skills that matter.
Screen-free doesn't mean skill-free. Unplugged coding activities teach algorithmic thinking, sequential logic, and debugging without devices. Children who master these concepts through physical manipulation often transition to text-based programming more successfully than those who start with visual IDEs. The tactile feedback loop—physically moving pieces, seeing immediate mechanical results—builds cause-and-effect understanding that transfers.
But screen-based projects aren't inherently worse. The question is whether the screen is a tool or a crutch. Projects that use screens for feedback, documentation, or visualization while requiring physical building, assembly, or testing strike a healthy balance. Contrast this with entirely virtual projects where children manipulate digital representations without touching physical materials.
For younger children (ages 6-9), prioritize projects with high tactile engagement. Their spatial reasoning and fine motor skills develop through manipulation of real objects in three-dimensional space. Screens compress that learning into two dimensions. See How Screen-Free Coding Prepares Kids for Text-Based Programming Languages for transition strategies.
Older children (ages 10+) benefit from projects that blend physical prototyping with digital design tools. Learning to design 3D objects on screen, then printing and testing them physically, teaches the full engineering workflow. The screen becomes a design tool, not an entertainment portal.
Watch for projects requiring parent co-participation vs. independent exploration. Some families thrive on collaborative projects; others need children to work autonomously. Neither is better—match the project to your household reality.
Step 8: Calculate True Cost of Ownership Over Time

The sticker price rarely reflects what you'll actually invest in a project. The most fun STEM projects often have hidden costs—or hidden value—that only emerge with use.
Break down initial investment into platform costs (the base kit), expansion costs (additional sensors, components, or modules), and infrastructure costs (software licenses, storage solutions, safety equipment). A $200 robotics kit might require $150 in expansion packs to access intermediate-level projects. That's not bad if the platform remains engaging for two years, but expensive if your child outgrows it in six months.
Identify consumables and replacement parts. 3D printing projects consume filament—budget roughly $20-30 per month for active projects. Electronics breadboarding kits need jumper wires, LEDs, and resistors, but these cost pennies. Chemistry sets require restocking chemicals. Renewable energy kits using solar panels and wind turbines have virtually zero consumables.
Check for subscription dependencies. Some platforms lock advanced features behind monthly fees. Others offer optional paid content alongside robust free tiers. Understand what's gated and whether those limitations matter for your learning goals.
Consider resale value and kit sharing. LEGO-based STEM platforms maintain resale value because components integrate with standard LEGO collections. Proprietary systems have limited secondary markets. This affects whether you can recoup investment when your child progresses beyond the kit.
The best metric: cost per skill acquired. A $300 platform that teaches Python programming, sensor integration, and data analysis over two years delivers better value than six $50 kits that each teach isolated concepts without connecting them.
Pro Tips & Common Mistakes
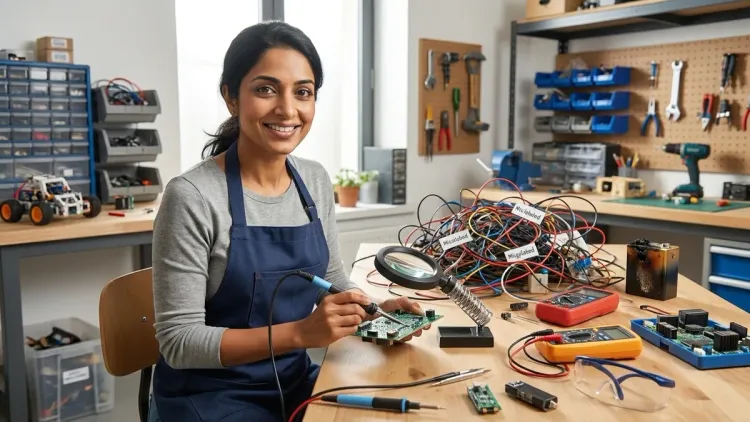
Start with what fascinates, then add rigor. Parents often choose educational projects that should interest children instead of projects that do interest them. A child obsessed with weather will engage deeply with environmental monitoring kits teaching sensor accuracy and data collection—skills that transfer everywhere. Force them into robotics because it seems more "STEM-serious" and you'll fight for engagement.
The biggest mistake: choosing projects beyond current skill level to "challenge" children. Challenge only builds competence when children have 70-80% of prerequisite skills. Below that threshold, challenge becomes discouragement. If your child struggles with basic block-based coding, handing them a Python project doesn't accelerate learning—it teaches them they're "not good at coding."
Conversely, don't mistake unfamiliarity for difficulty. A child comfortable with coding but new to electronics might find Arduino projects perfect—the programming feels accessible while circuit concepts introduce novelty. The familiar skill provides scaffolding for the new one.
Look for documentation that teaches debugging, not just assembly. The cheapest kits often have the worst instructions, but expensive doesn't guarantee quality. Preview tutorials online when possible. Good documentation explains why each step matters and what to check when things don't work.
Avoid "all-in-one" kits promising to teach everything. STEM learning works best when children go deep in one domain before adding complexity. A kit teaching robotics and coding and AI and renewable energy simultaneously teaches none of them well. Focus creates competence.
Watch for planned obsolescence in product ecosystems. Some platforms release new versions every 18 months that break backward compatibility. Others maintain 10+ year support cycles. Long-term platform stability protects your investment and lets children build expertise in one system instead of perpetually relearning new interfaces.
Frequently Asked Questions
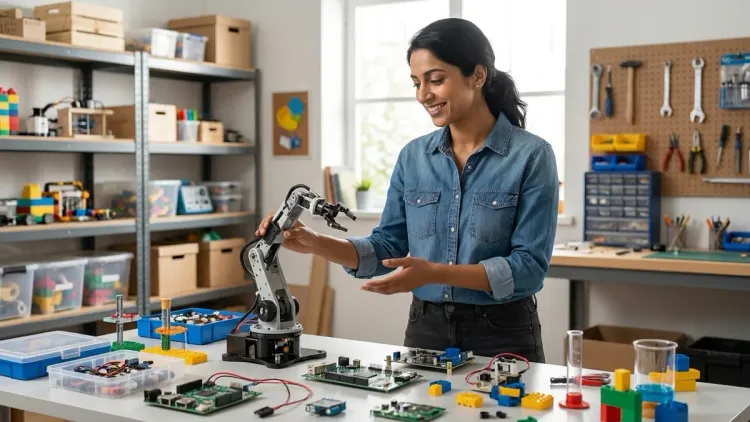
How do I know if a STEM project is actually building skills or just keeping my child busy?
Watch what your child does after they complete the guided portion. Real skill-building projects inspire independent experimentation—your child modifies the design, combines it with other projects, or asks questions beyond the tutorial scope. Busywork projects end when instructions end. Also check for transfer: does your child apply concepts from this project to unrelated problems? If they use troubleshooting strategies learned in robotics to fix a broken household item, that's genuine capability, not just following directions.
Should I choose projects aligned with school curriculum or focus on gaps school doesn't cover?
Both matter, but gaps deserve priority in home learning environments. Schools excel at broad coverage; home labs enable depth and specialization. If your child gets basic coding exposure at school, home projects can focus on industry-standard tools like Arduino or Raspberry Pi platforms that schools often lack resources to support. The exception: if your child struggles with foundational concepts at school, targeted home projects addressing those specific skills build confidence that transfers back to classroom performance.
How do I balance my child's current interests with skills they need for future opportunities?
Start with interest, connect to skill. A child fascinated by video games might resist abstract programming tutorials but engage deeply with projects modifying game mechanics or building interactive stories in Scratch. The hook is authentic interest; the outcome is Python readiness. Most STEM skills transfer across domains—data literacy learned through citizen science projects applies to AI, engineering, and biology. Follow curiosity aggressively in early years, then gradually introduce adjacent skills that compound with existing knowledge.
What's the right balance between guided projects and open-ended exploration?
Beginners need high structure—guided projects that teach fundamental techniques and build confidence through completion. As skills grow, gradually shift toward projects with optional challenges, multiple solution paths, or open-ended design criteria. By intermediate level, children should spend roughly 60% of time on guided skill-building and 40% on self-directed exploration. Advanced learners flip that ratio. The transition happens when your child starts modifying projects mid-tutorial because they've imagined something more interesting than the prescribed outcome—that's your signal to reduce structure and increase autonomy.
Summary
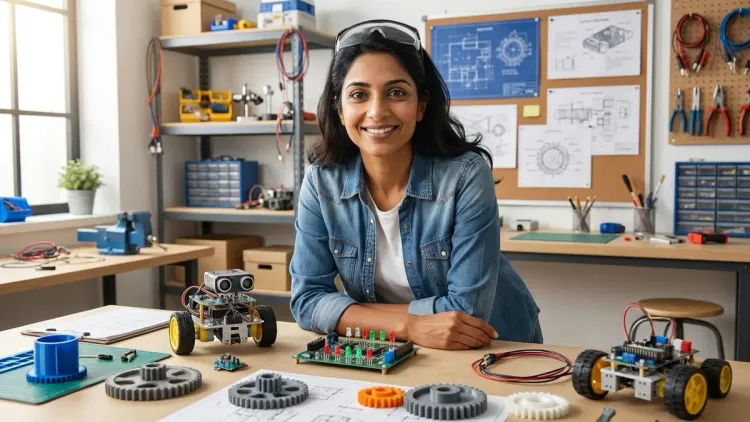
The most fun STEM projects teach transferable skills through challenges slightly beyond your child's current capabilities—hard enough to require genuine problem-solving, achievable enough that persistence pays off. Choose projects by skill outcomes and progressive learning paths rather than product categories or age ranges. Evaluate technical ecosystems for long-term viability, expansion options, and whether they teach industry-standard tools. Match cognitive load to your child's frustration tolerance, prioritize physical durability for repeated experimentation, and calculate true cost including consumables and subscriptions. The projects your child returns to repeatedly—the ones they modify, combine, and push beyond original specifications—are building real capability. Trust their sustained interest as a signal. Building a structured home STEM lab with progressive complexity turns individual projects into compounding expertise that prepares children for advanced coursework and career exploration.