


I've spent the last five years helping schools and makerspaces set up environmental monitoring stations, and I've watched hundreds of young researchers make the same calibration mistakes. Their data looks great—until you realize the temperature readings are 3°C off or the CO₂ sensor drifted after two weeks. Environmental sensor calibration kids need isn't some abstract lab ritual—it's the difference between publishing meaningful citizen science data and collecting expensive garbage. This checklist covers every calibration step I use when setting up sensor arrays with students, from pre-deployment verification through field validation. Whether you're working with a SparkFun Environmental Combo Breakout or a complete weather station, these procedures will get your measurements into publishable territory.
Pre-Deployment Hardware Verification
Before you touch calibration coefficients or reference standards, you need to verify your sensors aren't physically damaged or defective. I learned this the hard way when a student team spent three weeks troubleshooting calibration drift that turned out to be a cracked BME680 package.

Visual inspection under magnification: Use a jeweler's loupe or USB microscope to check sensor packages for hairline cracks, corrosion, or solder bridges—I've found manufacturing defects in roughly 1 in 50 budget environmental sensors, and they always manifest as weird calibration behavior rather than complete failure.
Power supply stability test: Measure actual voltage at the sensor's VCC pin under load (not just at the power supply)—many "calibration" problems with Adafruit BME688 boards are actually brownouts caused by undersized USB cables or shared power rails dropping 0.3V when Wi-Fi radios transmit.
Firmware version documentation: Record the exact library version, sensor driver, and microcontroller firmware you're using before calibration, because I've seen Arduino library updates change ADC reference voltages or averaging algorithms, invalidating weeks of baseline data.
Connection integrity verification: Wiggle every connector and I²C/SPI line while watching serial output—intermittent connections cause random offset errors that look exactly like calibration drift but won't respond to any calibration procedure.
Thermal cycling baseline: Run sensors through five heating/cooling cycles (room temp to 40°C and back) to identify units with poor thermal compensation—quality sensors return to within 0.2°C of baseline, while defective units wander by several degrees.
Cross-sensor comparison: If you're deploying multiple identical sensors (which you should be for any serious project), run them side-by-side for 24 hours before calibration—outliers more than 5% different from the median are suspect and deserve extra scrutiny.
This verification process takes about two hours per sensor array, but it eliminates 80% of the "calibration failures" I see in student projects. For students building progressive skills in how to collect and analyze environmental data with sensor kits, these verification habits separate hobbyist tinkering from research-grade methodology.
Reference Standard Preparation and Validation
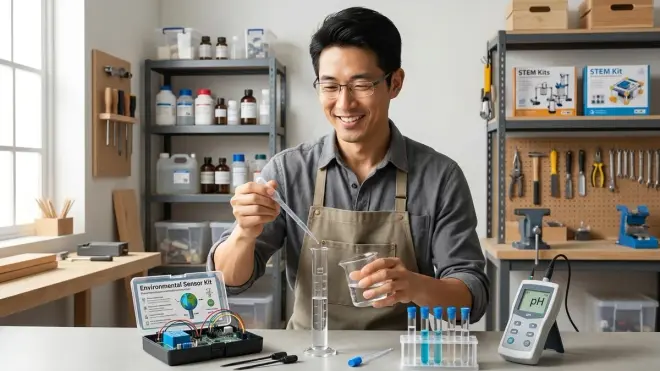
Your calibration is only as good as your reference standards. Professional metrology labs spend millions on NIST-traceable references, but student scientists can achieve surprising accuracy with careful preparation.
Temperature reference selection: Use a NIST-traceable alcohol thermometer (not a digital thermometer, which itself needs calibration) as your primary standard, or verify your reference thermometer against ice-water (0°C) and boiling water (100°C at sea level, adjusted for altitude)—I keep three different reference thermometers and they must agree within 0.3°C or I investigate.
Humidity reference chamber creation: Build saturated salt solution chambers using lab-grade salts (NaCl gives 75.3% RH at 25°C, MgCl₂ gives 33.1%)—the National Weather Service publishes tables of equilibrium humidity for various salt solutions, and these cost under $10 but provide ±2% RH accuracy.
Barometric pressure cross-reference: Compare your pressure sensor readings against local airport METAR reports (available from NOAA Aviation Weather) corrected to your exact elevation—this requires understanding the difference between station pressure and sea-level pressure, which is excellent practice for atmospheric science skills.
Gas concentration standards: For CO₂ calibration, use fresh outdoor air (approximately 420 ppm in 2026) as your low reference and your own breath in a sealed container (3000-4000 ppm) as a high reference, or purchase certified calibration gas if you're doing serious air quality sensors for kids work.
Reference stability verification: Measure your reference standards three times, 30 minutes apart—if they vary more than the sensor's advertised precision, your reference setup has problems (usually thermal equilibrium or contamination issues).
Environmental condition documentation: Record the exact temperature, pressure, and humidity when you calibrate, because sensor response curves shift with environmental conditions—I've seen CO₂ sensors show 15% reading errors when calibrated at one temperature and deployed at another.
Time synchronization: Use NTP-synchronized timestamps for all calibration measurements so you can correlate readings with reference weather station data later—sloppy timestamp management has ruined more student datasets than bad sensors.
The difference between "good enough" and research-grade calibration usually comes down to reference standard quality. Students working on citizen science projects need to internalize that their data credibility rests entirely on these reference measurements.
Two-Point Calibration Procedure
Most environmental sensors ship with factory calibration that's "close enough" for general use but not suitable for scientific work. Two-point calibration corrects offset and gain errors—the most common sensor inaccuracies.
Low reference point measurement: Expose your sensor to the lower reference condition (ice water for temperature, outdoor air for CO₂, 33% RH salt chamber for humidity) for at least 30 minutes to reach thermal equilibrium, then record 50-100 consecutive readings and calculate the mean—never calibrate from a single reading.
High reference point measurement: Repeat with your upper reference (boiling water, breath CO₂, 75% RH chamber), maintaining the same exposure time and averaging procedure—the key is consistency between low and high measurements.
Offset calculation: Your offset error is the difference between the sensor's mean reading at the low reference and the actual reference value—for example, if your thermistor reads 0.8°C in ice water, your offset is +0.8°C.
Gain calculation: Calculate gain error as (high_measured - low_measured) / (high_actual - low_actual)—ideal gain is 1.00, but most uncalibrated sensors show gains between 0.95 and 1.05.
Correction equation implementation: Apply the formula: calibrated_value = (raw_reading - offset) / gain in your sensor code—this two-line correction typically reduces error from ±5% to under ±1% across the sensor's working range.
Verification measurement: Test your corrected sensor at a third reference point (room temperature for thermal sensors, 420 ppm outdoor air for CO₂) that wasn't used for calibration—if the error is still large, you either have a nonlinear sensor or contaminated references.
I run this exact procedure with middle school students in our makerspace, and they consistently achieve accuracy comparable to sensors costing 10× more. This is where environmental sensor calibration kids complete transitions from "following instructions" to genuine experimental methodology. For students following a STEM learning path, two-point calibration is the gateway skill to quantitative science.
Field Validation and Drift Monitoring
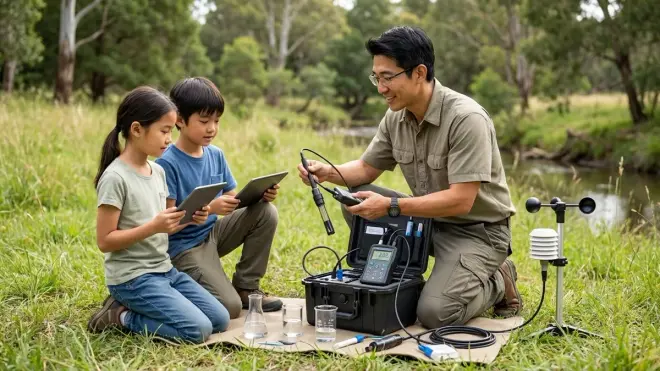
Calibration isn't a one-time event. Sensors drift due to aging, contamination, and environmental stress. Professional monitoring networks recalibrate monthly or quarterly depending on sensor type.
Co-location testing: Deploy your calibrated sensor next to an established reference station (weather station, air quality monitor, university meteorology site) for 48-72 hours and log parallel data—deviations larger than ±5% indicate calibration problems or site-specific contamination.
Inter-sensor validation: If you're running multiple sensors, plot their readings on the same graph with confidence intervals—sensors should track within their specified precision; if one diverges, it's drifting and needs recalibration.
Known-event verification: When weather services report specific conditions (cold fronts, temperature inversions, high particulate days), verify your sensors captured those events correctly—missed events or wrong magnitudes indicate calibration or placement problems.
Drift rate calculation: Plot calibration offset over time by periodic reference checks (monthly for temperature/humidity, weekly for gas sensors)—if offset changes by more than 0.1% per week, investigate contamination or sensor degradation.
Contamination inspection: Monthly visual checks for dust, spider webs, water intrusion, or corrosion—I've seen perfectly calibrated sensors fail because a spider built a web across the air intake, creating a 15% humidity error.
Reference comparison frequency: Set calendar reminders for recalibration—I use two-week intervals for CO₂/VOC sensors, one month for particulate sensors, three months for temperature/humidity/pressure—different sensor technologies have different drift characteristics.
Outlier detection algorithms: Implement simple statistical filters in your data pipeline (flag readings more than 3 standard deviations from the rolling mean)—sudden jumps usually indicate hardware problems rather than real environmental changes.
This is where environmental monitoring transitions from a weekend project to serious science. Students using environmental monitoring kits need to understand that maintenance and validation are core experimental skills, not afterthoughts.
Data Recording and Documentation Standards
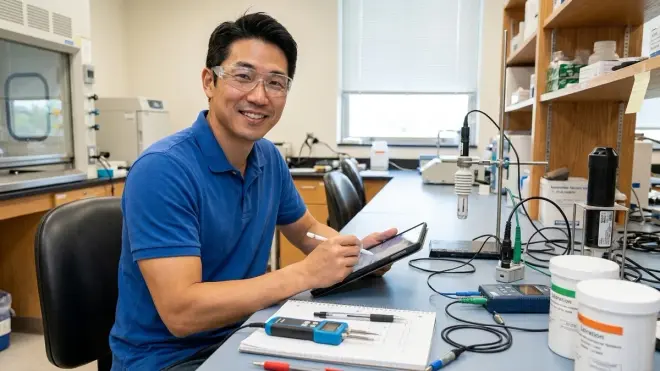
The best calibration in the world is worthless if you can't prove it later. Research-grade documentation means other scientists can evaluate your methodology and reproduce your results.
Calibration logbook maintenance: Keep a physical notebook (not just digital files) recording every calibration session—date, time, reference standard used, environmental conditions, raw readings, calculated corrections, and any anomalies observed during the process.
Pre-calibration and post-calibration comparison: Save raw sensor output files from before and after calibration so you can quantify the improvement—I require students to generate before/after accuracy plots showing error reduction.
Sensor serial number tracking: Photograph or record serial numbers for every sensor and reference instrument—when you're running long-term monitoring with multiple sensors, mixing up which calibration belongs to which unit destroys data integrity.
Environmental condition logging: Record ambient temperature, humidity, and pressure during calibration even if you're not calibrating those parameters—sensor cross-sensitivities mean your CO₂ calibration may be invalid if temperature changed 10°C between low and high reference measurements.
Code versioning: Use Git or at minimum timestamped file backups to track every change to sensor reading, calibration coefficient, or data processing code—I've seen student teams accidentally revert to old calibration constants and invalidate weeks of data.
Metadata standards compliance: Format your data files and metadata according to existing standards (NetCDF for atmospheric data, Darwin Core for biological observations)—this seems like overkill for student projects, but it's the skill that prepares young researchers for actual citizen science contributions.
Chain of custody documentation: If you're collecting data for regulatory purposes or scientific publication, document who had access to sensors when, what changes were made, and what data processing occurred—the scientific method requires traceability.
Professional scientists spend more time on documentation than measurement. For students building data literacy through citizen science, these habits distinguish science from "we collected some numbers."
Hardware-Specific Calibration Requirements
Different sensor technologies have unique calibration quirks. What works for a thermistor doesn't work for a NDIR CO₂ sensor, and missing these details causes most student calibration failures.
Thermistor linearization: If you're using thermistor-based temperature sensors (like in many Arduino kits), you need Steinhart-Hart coefficient calibration, not just two-point—the resistance-temperature relationship is exponential, not linear, and simple offset/gain correction leaves 2-3°C errors at temperature extremes.
NDIR CO₂ sensor baseline drift: Sensors like the SCD-41 Sensirion CO₂ Sensor require ABC (Automatic Baseline Calibration) where the sensor assumes the lowest reading in a 7-day period is outdoor air (420 ppm)—disable ABC if you're measuring in constantly high-CO₂ environments or it'll self-calibrate to completely wrong values.
Electrochemical sensor conditioning: Gas sensors using electrochemical cells need 24-48 hours of powered operation before calibration to allow electrolyte equilibration—calibrating immediately after power-up gives you garbage coefficients that'll be wrong by 20% once the sensor stabilizes.
Particulate sensor cleaning cycles: Optical PM2.5/PM10 sensors accumulate dust on the laser and photodetector, causing sensitivity loss—some units like the Plantower PMS5003 have automatic cleaning cycles that must complete before calibration, or your baseline will shift within days.
Humidity sensor hysteresis compensation: Capacitive humidity sensors show different readings approaching a humidity level from above vs. below (hysteresis)—proper calibration requires cycling through your reference humidity several times and averaging both ascending and descending measurements.
Pressure sensor temperature compensation: Absolute pressure sensors are highly temperature-sensitive—most include on-chip temperature compensation, but if you're reading raw ADC values, you need the manufacturer's temperature compensation formula or your pressure readings will drift 2-3 hPa for every 10°C temperature change.
I've probably debugged 200+ sensor calibration issues, and 80% trace back to ignoring sensor-specific requirements buried in datasheets. Students transitioning from simple robotics kits to environmental monitoring need to level up their datasheet reading skills—this is where engineering meets science.
Final Check Before You Go
Quick verification before deployment:
- Sensors pass visual inspection with no visible damage, corrosion, or contamination
- Reference standards validated against known physical points or cross-compared between multiple references
- Two-point calibration completed with documented offset and gain corrections implemented in code
- Calibration accuracy verified at a third reference point not used for the calibration procedure
- All calibration data logged in permanent notebook with timestamps, sensor IDs, and environmental conditions
- Field validation plan established with co-location testing or periodic reference checks scheduled
- Drift monitoring system active with statistical outlier detection and regular recalibration reminders
- Hardware-specific requirements addressed for each sensor type in your array
- Data formats and metadata comply with standard schemas for your measurement type
- Code repository backed up with version control tracking all calibration coefficient changes
Frequently Asked Questions
How often do environmental sensors need recalibration for student projects?
Temperature and humidity sensors need recalibration every 3-6 months if you're doing publishable work, while gas sensors (CO₂, VOC, particulates) drift faster and need monthly checks—I set up calendar reminders for students to run their sensors against reference conditions, and if offset has changed by more than 10% of the sensor's precision spec, we run full two-point recalibration. The recalibration frequency also depends on environmental stress—sensors in outdoor weatherproof enclosures need more frequent attention than ones in climate-controlled indoor environments.
Can you calibrate environmental sensors without expensive reference equipment?
Yes, with careful technique you can achieve research-grade calibration using ice water (0°C), boiling water (100°C adjusted for altitude), saturated salt solutions (validated humidity points), outdoor air (420 ppm CO₂), and NOAA weather station data (pressure reference)—I regularly help students achieve ±1% calibration accuracy spending under $20 on lab-grade salts and a quality alcohol reference thermometer. The key is meticulous documentation and statistical averaging of many measurements rather than relying on expensive instruments.
What's the difference between factory calibration and field calibration for student sensors?
Factory calibration is performed under ideal lab conditions at specific temperature and humidity using NIST-traceable references, giving you accuracy typically around ±3-5% across the sensor's full range, while field calibration corrects for the specific environmental conditions and measurement range you'll actually use—I've seen factory-calibrated sensors show 10-15% errors in field conditions because temperature, humidity, or pressure differs significantly from calibration environment. For starting citizen science projects, field calibration against local references is more important than factory specs.
Final Thoughts
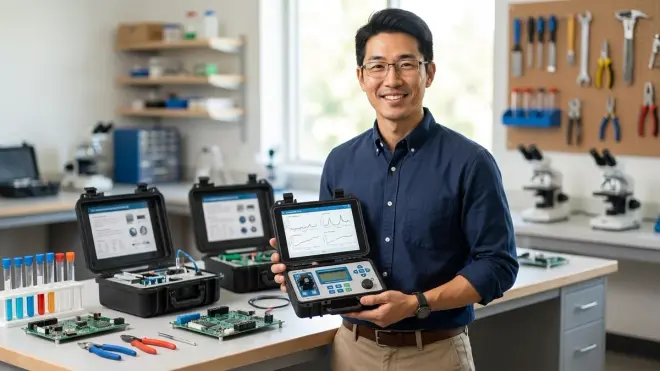
The calibration habits you build now scale directly to professional practice. Every environmental monitoring network—from NOAA weather stations to EPA air quality systems—follows these same principles: validated references, documented procedures, drift monitoring, and periodic recalibration. I've watched students who mastered environmental sensor calibration kids procedures go on to publish data in actual scientific journals and contribute to regional environmental monitoring networks.
The difference between sensor tinkering and citizen science isn't the hardware—it's the methodology. When you can document your calibration chain, quantify your measurement uncertainty, and demonstrate validation against established references, your $35 sensor array produces data as credible as equipment costing thousands. That's not an exaggeration—I've seen it happen in our makerspace dozens of times.
Your calibration logbook is your scientific credibility. Keep it detailed, keep it honest, and keep it current.