
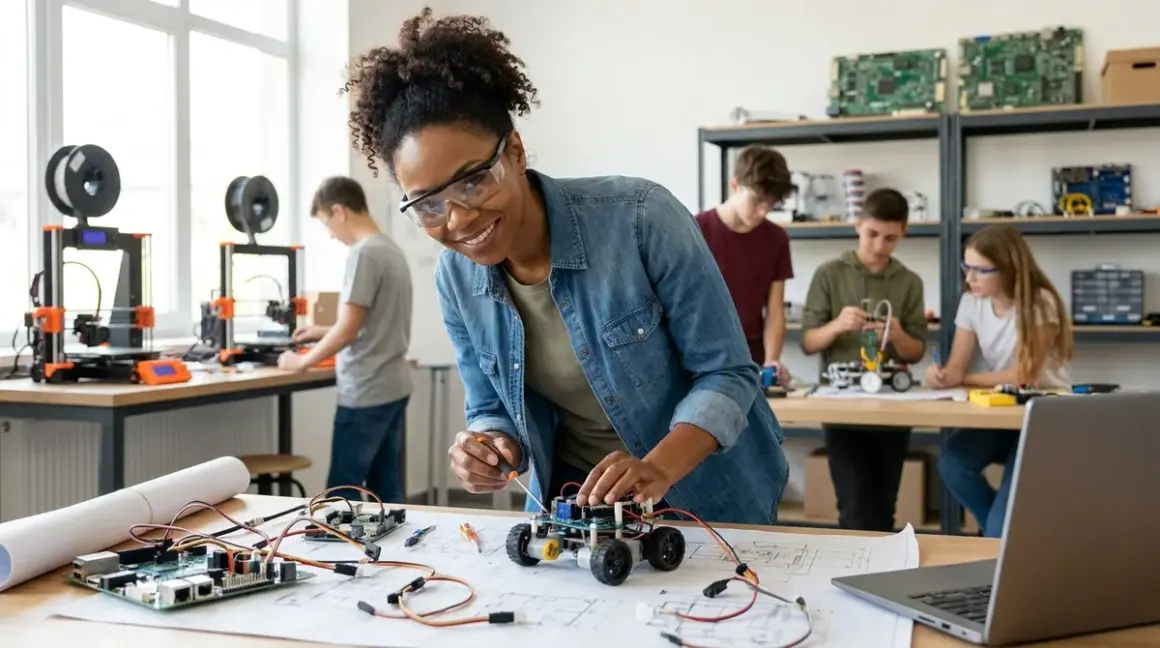

You'll learn to evaluate engineering projects for teenagers by mapping technical requirements to actual skill milestones, not arbitrary age brackets. This guide walks through assessing prerequisites, compatibility, expandability, and career alignment—so you can select projects that build sequentially toward industry-standard competencies. Expect to spend 20 minutes identifying your teenager's current capabilities and 10 more matching them to project pathways that challenge without overwhelming.
What You'll Need:
- Current skill inventory: programming languages known (block-based, Python, C++), CAD experience, electronics breadboarding comfort
- Lab infrastructure assessment: available power capacity (120V outlets, surge protection), workspace ventilation, tool access
- Target platform documentation: Arduino IDE compatibility notes, Fusion 360 licensing status, GitHub account setup
- Progressive learning path map (see How to Design a Progressive STEM Learning Path in Your Home Lab)
- Budget ceiling and recurring cost tolerance (subscriptions, consumables, cloud credits)
Step 1: Inventory Existing Technical Proficiencies and Tool Familiarity
Start by cataloging what your teenager already knows how to do, not what they've been exposed to. Can they debug a Python script independently, or do they need line-by-line guidance? Have they designed a 3D model in Tinkercad and successfully printed it, or have they only watched demos? This distinction matters—engineering projects for teenagers should build on demonstrated competencies, not aspirational ones.
Test their comfort with version control by asking them to fork a GitHub repository and make a trivial edit. If that's foreign territory, projects requiring collaborative coding or open-source contribution will frustrate them. Similarly, hand them a multimeter and ask them to measure voltage across a 9V battery. If they hesitate or guess at probe placement, don't assign them a project involving sensor calibration until you've covered DC circuit fundamentals.
Document their fluency with industry-standard tools: Arduino IDE, Fusion 360, Jupyter notebooks, oscilloscopes, soldering irons. You're not looking for mastery—you're establishing a baseline. A teenager who's comfortable with Arduino C++ syntax but has never touched CAD software needs different projects than one who's designed parametric models but hasn't wired a breadboard. The Arduino vs Raspberry Pi for Teens: Which Platform Builds Better STEM Skills comparison can clarify which ecosystem aligns with their current trajectory.
I've seen too many parents select engineering projects for teenagers based on glossy marketing language—"ages 13+"—only to discover the project assumes familiarity with I²C protocols or requires comfort with command-line interfaces their kid has never seen. Age ranges are useless proxies for readiness.
Step 2: Assess Lab Infrastructure and Safety Requirements
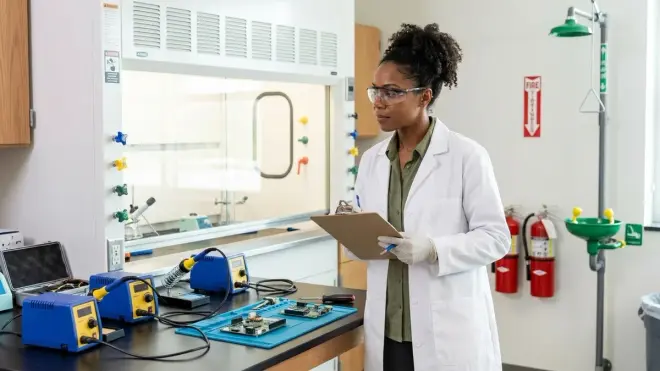
Your teenager's engineering ambitions will hit a wall if your home lacks the power, ventilation, or connectivity to support them. Walk through your workspace with a critical eye: count available 120V outlets, check for GFCI protection near water sources, measure bench height against your teenager's seated elbow position, and test WiFi signal strength if cloud-dependent platforms are in play.
Power capacity matters more than most families realize. A 3D printer, soldering station, and oscilloscope running simultaneously can trip a 15-amp breaker if they're sharing a circuit with a space heater. If you're considering projects involving motor controllers, laser cutters, or CNC tools, map your electrical panel and confirm dedicated circuits. For detailed infrastructure planning, reference the Home STEM Lab Safety Checklist: Power, Ventilation, and Storage Requirements.
Ventilation is non-negotiable for soldering, resin printing, or any project involving lithium batteries. I run an inline duct fan vented to an exterior wall in my home lab—it cost me around $60 and two hours of installation, but it means my daughter can solder ESP32 modules without me worrying about flux fume exposure. If your workspace lacks exterior venting, rule out projects requiring sustained soldering or ABS 3D printing until you've addressed it.
Connectivity determines whether your teenager can work independently. Cloud-dependent platforms like Arduino Web Editor or Onshape require stable broadband—if your internet is spotty, prioritize offline-capable tools like the desktop Arduino IDE or Fusion 360's offline mode (which still requires periodic license validation). Storage matters too: a single Fusion 360 assembly with imported STEP files can exceed 500 MB. Ensure your teenager has local backup protocols and isn't relying solely on cloud storage that could lock them out mid-project.
Step 3: Match Project Complexity to Concrete Capability Milestones
Engineering projects for teenagers should target the next achievable milestone, not a distant aspirational one. If your teenager has built Arduino-based LED blinkers and temperature sensors, the logical next step is integrating multiple sensors with conditional logic—say, a greenhouse monitor that logs temperature, humidity, and soil moisture to an SD card and triggers a fan when thresholds are exceeded.
That's a single-hop progression: they're adding complexity (multiple inputs, data logging, actuator control) without introducing entirely new concepts. Contrast that with jumping straight to a computer-vision project using TensorFlow Lite on a Raspberry Pi—suddenly they're debugging camera drivers, wrangling Python dependencies, training neural networks, and troubleshooting inference latency. That's five hops, and most teenagers will stall out before achieving a working prototype.
I use a three-variable matrix to evaluate project fit: new concepts introduced (0–2 is manageable, 3+ risks overwhelm), tool familiarity (projects should use mostly-known tools with one new one), and debugging complexity (can issues be isolated to a single subsystem, or do failures cascade across hardware, firmware, and software layers?).
For example, building a solar-powered weather station using an Arduino, a basic solar panel kit, and off-the-shelf sensors introduces one new concept (energy harvesting and battery management) while leveraging existing Arduino skills. It's debuggable—if the station stops reporting data, you can isolate whether it's a power issue, sensor failure, or code bug. Compare that to a quadcopter build, which introduces flight dynamics, brushless motor control, gyroscope calibration, PID tuning, and RF communication simultaneously. Unless your teenager already has significant robotics experience, that's a recipe for abandonment.
The Understanding STEM Career Pathways: What Teen Activities Build Industry Skills article maps specific projects to professional roles, helping you see which capabilities each project actually develops.
Step 4: Evaluate Software and Hardware Compatibility Requirements
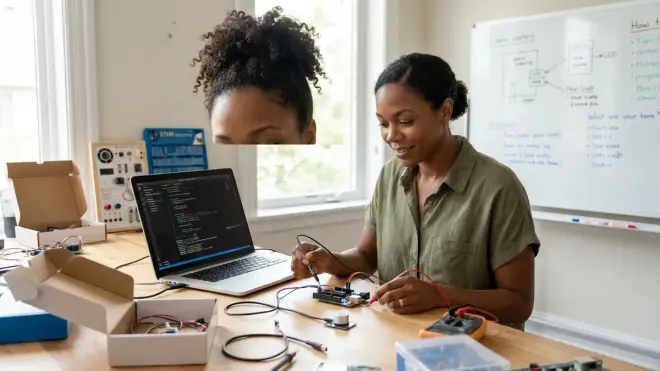
Before committing to any engineering project for teenagers, verify that every piece of the toolchain works with your existing infrastructure. This isn't paranoia—it's learned caution after watching too many families discover mid-project that the robotics kit requires Windows-only software while they run macOS, or that the advertised "Arduino-compatible" board uses a CH340 USB-to-serial chip that requires manual driver installation.
Check OS compatibility explicitly. Does the project require Arduino IDE 1.8.x or 2.x? Does the CAD software run natively on your OS, or are you stuck with a web-based version with reduced functionality? Some machine learning kits specify TensorFlow 2.12+, which may conflict with other Python libraries your teenager uses. If the project documentation says "Linux recommended," believe it—that usually means the Windows version is buggy or missing features.
Scrutinize library dependencies and update frequency. A project built around a poorly-maintained Arduino library that hasn't been updated since 2022 will break when your teenager installs the latest IDE version. Check GitHub issues for the primary libraries—if the last commit was two years ago and there are 30 open issues about compilation errors, choose a different project. Active maintenance is a proxy for long-term viability.
Hardware expandability determines whether a project becomes a learning platform or a dead end. If the kit uses proprietary connectors or closed-source firmware, your teenager can't extend it when they're ready for the next challenge. I prioritize projects built around Arduino Uno/Mega, Raspberry Pi 4/5, or ESP32 platforms—they have massive community support, endless expansion modules, and transferable skills. A custom controller board with a locked bootloader and no published schematics is a toy, not a teaching tool.
For 3D printing projects, confirm filament compatibility and bed size before purchasing models to print. The Best 3D Printers for Teen STEM Projects Under $500 guide details build volumes and material handling, preventing the disappointment of discovering your printer can't accommodate the chassis your teenager designed.
Step 5: Calculate Total Cost Including Subscriptions and Consumables
Engineering projects for teenagers look affordable until you account for ongoing costs. That around $150 robotics kit seems reasonable—until you discover it requires a $95/year cloud subscription for advanced programming features, replacement motors cost $18 each and burn out every three months under normal use, and the proprietary sensors are $30 a pop with no third-party alternatives.
Build a true total-cost-of-ownership spreadsheet before committing. Include upfront hardware, required software licenses (Fusion 360 is free for students but requires annual renewal verification), consumables (3D printer filament, solder, breadboard components, batteries), replacement parts with realistic failure rates, and subscription fees. I've found that "beginner" kits often have the highest consumable costs because they use proprietary parts, while more advanced platforms like Arduino ecosystems let you source generic components.
For 3D printing projects, filament is a recurring expense that scales with ambition. A 1 kg spool of PLA runs around $20–25 and yields approximately 300–400 grams of finished parts after supports and failed prints. If your teenager is prototyping iteratively—printing, testing, redesigning—budget for 2–3 kg monthly during active project phases. The Understanding 3D Printer Filament Types: PLA, ABS, and PETG for Young Makers article helps estimate usage for different project types.
Battery and power supply costs sneak up on you. Robotics projects devour AA batteries—a typical Arduino robot consumes a six-pack in 2–3 hours of active use. Switch to rechargeable NiMH AAs (around $25 for an eight-pack with charger) immediately. For higher-current projects, LiPo batteries are cheaper per watt-hour but require dedicated chargers ($40–60) and safety protocols—they're not appropriate unless your teenager understands discharge curves and cell balancing.
Cloud-dependent platforms like Onshape or Arduino Cloud have free tiers with feature restrictions. They're fine for early exploration, but once your teenager hits project limits (10 private documents on Onshape's free tier, limited compile minutes on Arduino Cloud), you're facing subscription pressure. Offline-first tools eliminate that recurring cost and ensure your teenager retains access to their work regardless of payment status.
Step 6: Identify Projects That Build Toward Industry-Standard Tools
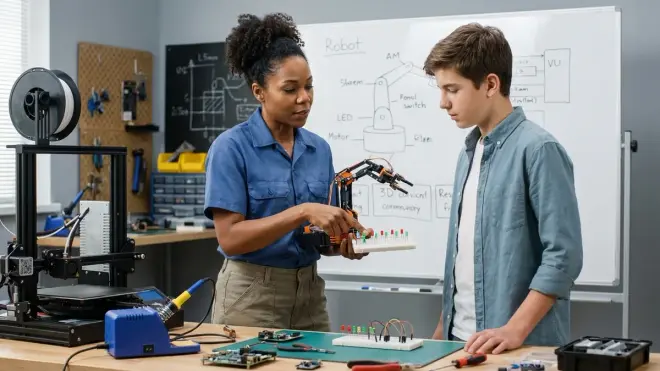
The engineering projects for teenagers you choose today should create a direct pathway to professional competencies, not dead-end skills that require relearning later. A teenager who masters Fusion 360 parametric modeling can transition to SolidWorks or Onshape with minimal friction—the underlying principles transfer. A teenager who learns block-based programming on a proprietary platform with no text-code export is starting from scratch when they hit college CS courses.
Prioritize projects that use tools working engineers actually use. Arduino IDE and C++ are genuine embedded development skills—major companies prototype on Arduino before moving to custom PCBs. Python data analysis in Jupyter notebooks is how climate scientists, biotech researchers, and machine learning engineers work. KiCad PCB design, while complex, teaches the same schematic-to-layout workflow as Altium Designer. These aren't toy versions of professional tools—they're entry points into the real thing.
I watch for projects that expose teenagers to version control (Git/GitHub), documentation practices (README files, commented code), and systematic debugging (serial monitor logs, oscilloscope traces). My daughter learned to commit her Arduino code to GitHub not because I made her, but because her robotics project grew too complex to track changes in her head—she discovered version control solves a real problem. That's a skill she'll use for the rest of her career.
Renewable energy projects offer particularly clear connections to professional practice. A teenager who builds a solar charge controller and learns to measure panel efficiency, calculate battery state-of-charge, and optimize power conversion is learning electrical engineering fundamentals that translate directly to jobs in grid modernization, EV infrastructure, and distributed generation. The Best Solar Energy Kits for Science Projects in 2026 article highlights kits that teach these transferable skills rather than toy-grade approximations.
For students interested in AI and machine learning, the progression from Best AI Learning Kits for Kids to real TensorFlow or PyTorch projects matters enormously. Some kits use simplified drag-and-drop interfaces that hide the actual ML pipeline—they're engaging but don't transfer. Better kits expose teenagers to Jupyter notebooks, dataset preparation, training/validation splits, and model evaluation metrics using the same libraries professionals use.
Step 7: Validate Projects Against Progressive Learning Path Positioning
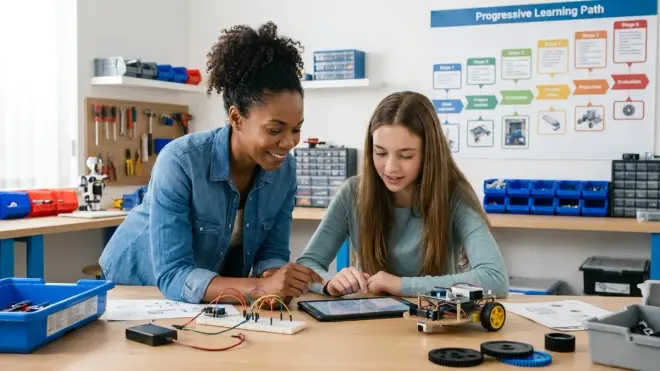
No engineering project for teenagers exists in isolation—it's either building toward the next challenge or it's a disconnected novelty. Before selecting a project, map where it sits in your teenager's multi-year learning trajectory. Does it consolidate existing skills, introduce one new capability, or unlock a new domain?
I use a four-stage progression model: Fundamentals (breadboarding, basic code, manual assembly), Integration (combining subsystems, debugging multi-component failures), Design (creating original solutions, CAD modeling, custom PCB design), and Optimization (performance tuning, efficiency analysis, professional documentation). A teenager in the Fundamentals stage needs projects with clear instructions and limited failure modes. A teenager in the Design stage needs open-ended challenges where they define requirements and select components.
For example, if your teenager has completed several Arduino sensor projects (Fundamentals), the next tier is an Integration project like a data-logging weather station that combines sensors, SD card storage, and RTC timekeeping—they're still working with familiar Arduino tools but learning how subsystems interact. After that, a Design project where they select sensors, calculate power budgets, and design a 3D-printed enclosure pushes them to make engineering trade-offs independently.
The Complete Robotics Learning Path Checklist: From Beginner Kits to Competition-Level Builds provides a validated progression from basic teleoperated bots through autonomous navigation. Following an established pathway reduces the risk of selecting a project that's either too easy (boring) or introduces too many new concepts simultaneously (overwhelming).
Competition alignment accelerates skill development. Projects that prepare teenagers for FIRST Robotics, Science Olympiad, or Regeneron ISEF give them hard deadlines, performance criteria, and peer benchmarking. I've seen competition pressure transform a teenager's approach to documentation and systematic testing—suddenly they care about reproducibility because their robot needs to work on competition day, not just once in the garage. The What Are STEM Challenges for High School Students: Competition Types Explained article details which competitions require which skill sets.
If your teenager is interested in environmental monitoring, citizen science projects offer a progressive pathway with real research impact. Start with basic data collection using pre-calibrated sensors, advance to sensor calibration and data quality assessment, then move to designing original studies and contributing to platforms like iNaturalist or SciStarter. The Best Citizen Science Kits for Kids: Building Real-World Research Skills at Home guide maps this progression clearly.
Step 8: Test for Genuine Debugging Opportunities and Failure Tolerance
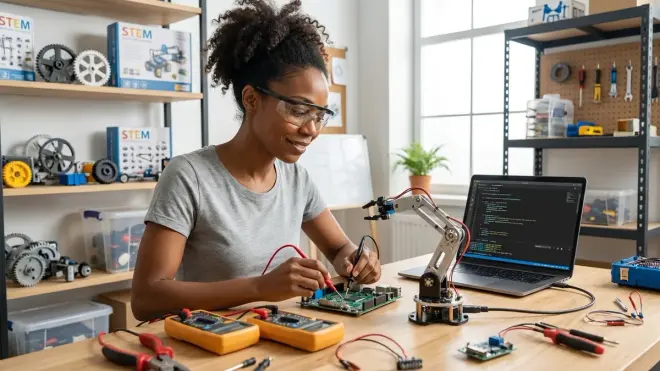
The best engineering projects for teenagers include intentional friction—points where things don't work on the first try and success requires systematic troubleshooting. A kit where every component snaps together perfectly and the code uploads without modification teaches assembly, not engineering. You want projects where your teenager will encounter sensor noise, mechanical misalignment, timing bugs, or power supply inadequacy—and where the documentation gives them the tools to diagnose and fix those issues.
Look for projects that expose teenagers to professional debugging tools and techniques. Can they add serial print statements to trace code execution? Does the project teach them to use the Arduino Serial Plotter to visualize sensor data and identify noise patterns? If it's a mechanical project, are there systematic steps for checking dimensional tolerances and part alignment? These metacognitive debugging skills—how to isolate variables, form hypotheses, test incrementally—are more valuable than the finished project itself.
I'm suspicious of kits that promise "works in 30 minutes"—that usually means all the hard problems have been solved for you, and there's nothing left to learn. Compare that to open-ended challenges like "build a line-following robot" where the kit provides motors, sensors, and a microcontroller, but your teenager must figure out sensor placement, threshold tuning, and motor control logic. Those projects take days or weeks, involve multiple failures, and produce genuine competency growth.
Failure tolerance is both technical and psychological. Some projects have high material costs per iteration—if your teenager is learning to design injection-molded enclosures, each prototype requires a new 3D print that might take 8 hours and use $15 of filament. That's expensive failure. Better to start with faster, cheaper iterations: breadboard circuits before custom PCBs, cardboard mockups before 3D-printed chassis, simulation before physical prototyping. The Teen Home STEM Lab Setup Checklist: Essential Equipment and Tools includes rapid prototyping strategies that reduce iteration cost.
Projects with strong community support handle frustration better. If your teenager encounters a cryptic compilation error and can find solutions by searching Arduino forums or Stack Exchange, they learn self-sufficiency. If they're debugging a proprietary platform with no community and sparse documentation, every roadblock requires manufacturer support tickets and multi-day delays. The size and activity of the user community is a leading indicator of whether a project will teach persistence or just cause abandonment.
Pro Tips & Common Mistakes
Pro tip: Start with reproducible reference builds before attempting original designs. Have your teenager complete at least two tutorial-guided projects on a new platform (Arduino, Raspberry Pi, Fusion 360) before assigning open-ended challenges. Those reference builds establish what "working" looks like and give them troubleshooting patterns to draw on when their original design inevitably misbehaves. I've never seen a teenager succeed with a custom Arduino project who hadn't first completed the basic examples in the official Arduino starter guide.
Common mistake: Conflating kit quality with learning quality. Expensive, polished kits with injection-molded parts and beautifully illustrated instructions often provide less learning than janky breadboard projects with hand-drawn schematics. The former optimizes for parent satisfaction; the latter optimizes for skill transfer. If your teenager can explain why they placed a pull-down resistor on a button input, they've learned something. If they just followed color-coded assembly instructions, they've learned to follow directions—a different and less transferable skill.
Pro tip: Ruthlessly eliminate projects with locked ecosystems. If the kit requires proprietary software that only works with that manufacturer's hardware, your teenager is learning how to use a product, not how to engineer solutions. Open platforms—Arduino, Raspberry Pi, ESP32—let them take skills and code to new hardware as they progress. Closed platforms trap them in an upgrade cycle where each new capability requires buying the manufacturer's next-tier product.
Common mistake: Underestimating documentation time. A functional prototype is halfway to a complete engineering project. Professional engineers spend nearly as much time documenting designs—schematics, BOMs, assembly instructions, test procedures—as building them. Engineering projects for teenagers should include documentation milestones: a GitHub README explaining what the project does, a BOM with supplier links, photos annotated with design decisions. This isn't busywork—it's training them to think like professionals who hand off designs to other people.
Pro tip: Prioritize projects with graceful degradation. The best learning projects have intermediate milestones that work even if the full vision fails. A solar-powered sensor station can log data to an SD card even if the WiFi upload feature never works. A robotic arm can be controlled manually even if autonomous object detection proves too complex. Projects with all-or-nothing success criteria—either the quadcopter flies or it's a pile of expensive parts—create too much performance pressure and eliminate learning opportunities along the way.
Frequently Asked Questions
What technical prerequisites should teenagers have before starting complex engineering projects?
Teenagers should demonstrate fluency with at least one programming environment (Arduino IDE, Python IDLE, or Scratch), comfort using a multimeter to measure voltage and continuity, ability to interpret datasheets and wiring diagrams, and experience with systematic debugging using print statements or serial monitors before attempting multi-system projects. They don't need mastery—a working knowledge of Ohm's law, basic conditional logic, and how to search error messages effectively is sufficient for most intermediate engineering projects for teenagers.
How do I know if an engineering kit will prepare my teenager for industry-standard tools rather than just toy-grade approximations?
Check whether the kit uses open platforms (Arduino, Raspberry Pi, standard RTOS) with professional development environments, whether its documentation references industry specifications and datasheets, whether completed projects can be extended with third-party hardware using standard protocols (I²C, SPI, UART, GPIO), and whether the programming language or CAD tool is used in actual engineering workplaces—Python, C++, Fusion 360, and KiCAD qualify; proprietary block-based languages with no text export do not.
Should I choose projects based on my teenager's stated interests or focus on building foundational skills first?
Build foundational skills through your teenager's interests rather than treating them as separate tracks. A teenager passionate about environmental conservation can learn Arduino programming, sensor calibration, data analysis, and PCB design through progressive citizen science projects measuring air quality or water parameters—they're developing general engineering capabilities while staying motivated by real-world impact. Interest-aligned projects sustain engagement through the frustrating debugging phases that cause abandonment in abstract skill-building exercises.
How much should I budget annually for consumables and replacement parts for active teenage engineering projects?
Budget around $300–500 annually for an actively engaged teenager working on 3–4 substantial projects per year, covering 3D printer filament (2–3 kg monthly during active phases at around $20/kg), breadboard components and wire (around $10–15 monthly), sensors and modules (around $30–50 per project), rechargeable batteries and power supplies (one-time around $80, plus occasional replacements), and solder and hand tools (around $50–75 annually for consumables and tool upgrades). Cloud subscriptions for software can add another $100–200 if not using free educational licenses or open-source alternatives.
Summary
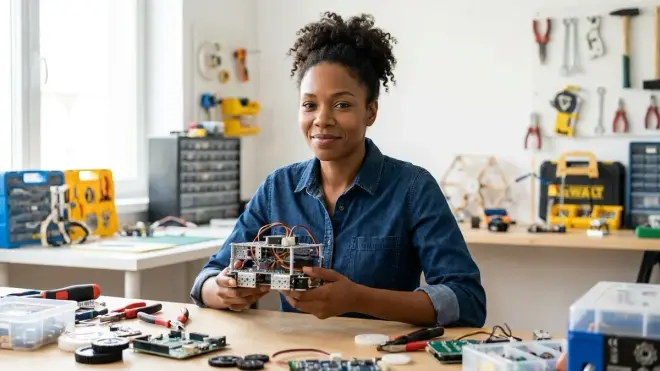
Choosing engineering projects for teenagers requires evaluating technical prerequisites against actual demonstrated skills, verifying that your home lab infrastructure supports the project's power and connectivity needs, matching project complexity to single-hop capability progressions, calculating total ownership cost including consumables and subscriptions, and ensuring projects teach industry-standard tools that open career pathways rather than dead-end proprietary systems. You've learned to assess projects for genuine debugging opportunities and failure tolerance—the friction that produces real learning—and to position each project within a multi-year progressive learning path that builds sequentially toward professional competencies. The projects you choose today should leave your teenager with transferable skills they'll use in college labs, internships, and eventually careers building the climate-resilient infrastructure we desperately need.