You've watched your child build block towers, solve puzzles, and navigate imaginary worlds—why shouldn't computational thinking feel just as tangible? Learning how to choose screen free coding kit by age doesn't mean sacrificing rigor or future-readiness. It means honoring your child's developmental stage while building genuine programming logic through hands-on exploration. In this guide, you'll learn how to match screen-free coding tools to your child's cognitive readiness, identify which tactile programming systems prepare for industry-standard languages, and build a progressive learning path from preschool sequencing to middle school algorithm design. This process takes about 20 minutes to complete your first assessment, with no specialized background required.
What You'll Need
Before you begin evaluating screen-free coding kits, gather:
- Your child's current age and previous exposure to logic games (puzzles, pattern games, board games with rule systems)
- List of computational thinking skills you want to prioritize (sequencing, loops, conditionals, functions, debugging)
- Your home learning environment specifications: available floor/table space (minimum 2×3 feet for most kits), storage capacity for multiple components, and whether siblings will share resources
- Budget allocation and consumables tolerance: one-time purchase ceiling and willingness to replace batteries, paper coding cards, or activity booklets
- Compatibility requirements: whether the kit needs to integrate with future tools (Arduino IDE, Scratch, Python environments)
- Durability expectations: frequency of use (daily vs. weekly), number of children handling components, and required lifespan (6 months vs. multi-year investment)
Step 1: Understand Developmental Readiness Markers, Not Just Age Ranges
Most coding kit packaging lists "Ages 5+" or "Ages 8-12" without explaining what cognitive milestones those numbers represent. That's frustrating when your seven-year-old might think like a nine-year-old—or your ten-year-old needs more concrete manipulation than abstract symbols.
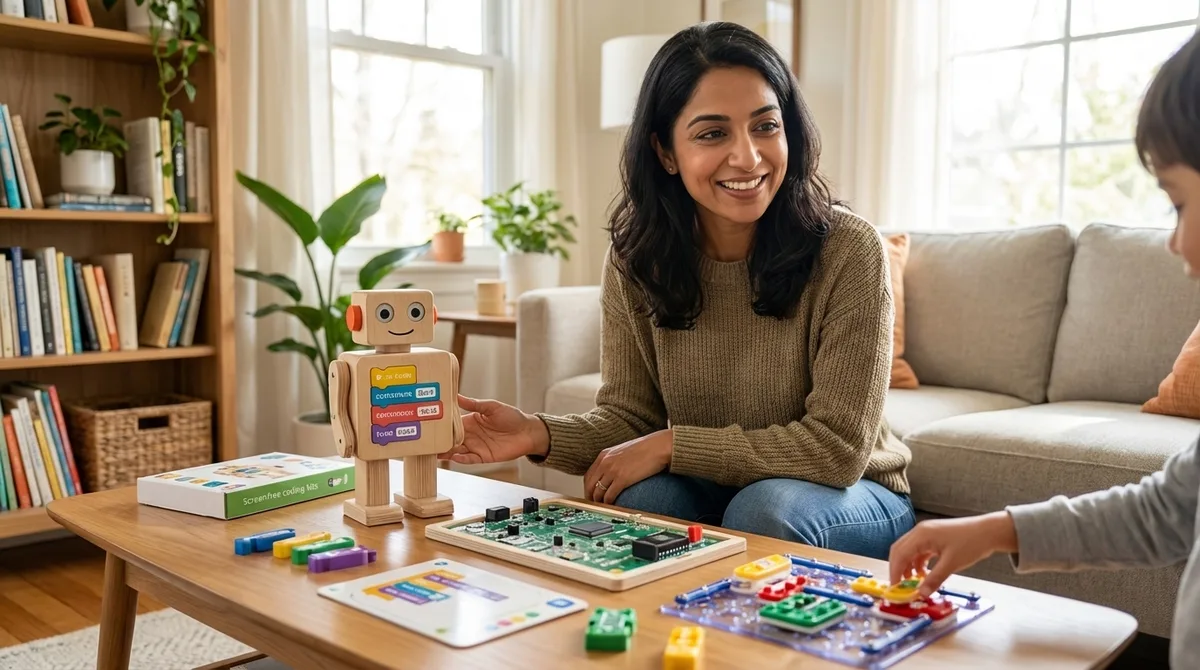
When learning how to choose screen free coding kit by age, focus on developmental indicators instead of birthday candles. For ages 3-5, look for kits that teach directional sequencing (forward, backward, left, right) without requiring symbol recognition. Your child should be able to follow 3-4 step physical commands before a coding toy makes sense. The Cubetto Playset uses wooden blocks in a tangible programming board—perfect for this stage—but some children find the fixed grid limiting once they master basic sequences.
Ages 6-8 mark the transition to symbolic representation. Children can now map abstract icons to actions and predict multi-step outcomes mentally before executing. Kits with coding cards, symbol-based commands, or color-coded instruction sequences fit here. They're building the same sequential logic used in Scratch's block-based programming, which becomes relevant when you're ready to transition from screen-free coding to Scratch and Python programming.
Ages 9-12 require conditional logic and debugging challenges. At this stage, screen-free kits should incorporate if/then scenarios, loop optimization, and intentional error-correction exercises. Without these, your child will outgrow the kit within months. Look for systems that let them write increasingly complex "programs" using physical components—essentially pseudocode made tangible.
I've seen parents skip this assessment and hand a brilliant four-year-old a kit designed for seven-year-olds, then wonder why frustration erupts. Developmental readiness isn't about intelligence; it's about cognitive infrastructure.
Step 2: Identify Core Computational Concepts the Kit Actually Teaches
Not all screen-free coding kits teach genuine programming fundamentals. Some are themed toys with vague "STEM learning" claims. Others are rigorous logic trainers that directly prepare children for text-based languages.
Evaluate each kit against these five computational thinking pillars:
Sequencing (ordering commands): Every screen-free kit should teach this. Check whether sequences are fixed (follow a printed path) or open-ended (design your own challenge).
Loops (repeating actions): Does the kit include a physical "repeat" mechanism? Can your child program "move forward three times" without placing three individual forward commands? This distinction matters—it's the difference between rote memorization and algorithmic efficiency.
Conditionals (if/then logic): Rare in beginner kits, essential for advanced ones. Look for scenario cards, sensor-triggered actions, or rule-based challenges that change the robot's behavior based on environmental conditions.
Functions (reusable command groups): Can your child create a custom "dance move" sequence and call it repeatedly? This abstraction skill directly maps to function definition in Python and JavaScript.
Debugging (identifying and fixing errors): Does the kit encourage trial-and-error iteration, or does it simply mark answers as "wrong"? Quality screen-free coding tools make debugging visible—your child sees where the robot deviates from the intended path and adjusts the command sequence accordingly.
The Code & Go Robot Mouse Activity Set excels at sequencing and basic debugging for ages 5-7, though it lacks loop and conditional support—making it a foundation tool rather than a complete curriculum. For kids ready to explore more advanced concepts alongside screen-free activities, understanding what screen-free coding really means helps clarify which features matter most.
Step 3: Assess Tactile Interface Design and Manipulation Requirements
Fine motor skills vary wildly across age groups, and a coding kit's physical interface can either support or sabotage learning. This is where developmental psychology meets industrial design.
For ages 3-5: Chunky, gripable components are non-negotiable. Your child should be able to snap, press, or insert coding pieces without adult help. Wooden blocks, large snap-together cards, and palm-sized robots work well. Tiny arrow tiles or fiddly connector pins create frustration that has nothing to do with computational thinking—you're just fighting dexterity limitations.
For ages 6-8: Transitional interfaces that combine tactile and symbolic elements work beautifully. Coding cards you physically arrange in sequence, magnetic tiles, or punch-out command strips give the satisfaction of manipulation while introducing abstract representation. Watch for card durability—laminated or thick cardstock survives repeated use; thin paper doesn't.
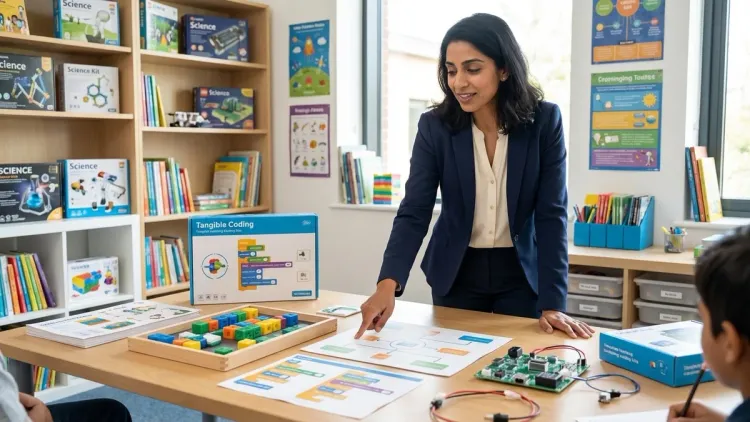
For ages 9-12: At this stage, the tactile element should add value, not just provide novelty. Physical programming boards that let kids write complex algorithms using modular pieces—essentially unplugged versions of visual programming environments—prepare them for block-based coding better than purely digital alternatives. The interface should feel tool-like, not toy-like.
Lab Specs consideration: Check whether components require batteries (and how many), whether they're replaceable or rechargeable, and whether the kit functions entirely offline or requires app setup (which technically violates "screen-free" learning). Some "unplugged" kits sneak in tablet dependency for setup or validation—read fine print carefully.
I've watched a determined five-year-old spend 20 minutes trying to align coding tiles precisely enough to trigger the sensor, tears building, while the actual programming concept sailed right past. The wrong interface steals cognitive bandwidth from learning.
Step 4: Map the Kit to Your Child's Progressive Learning Path
Understanding how to choose screen free coding kit by age means seeing beyond individual products to skill progression architecture. No single kit should be a dead-end investment.
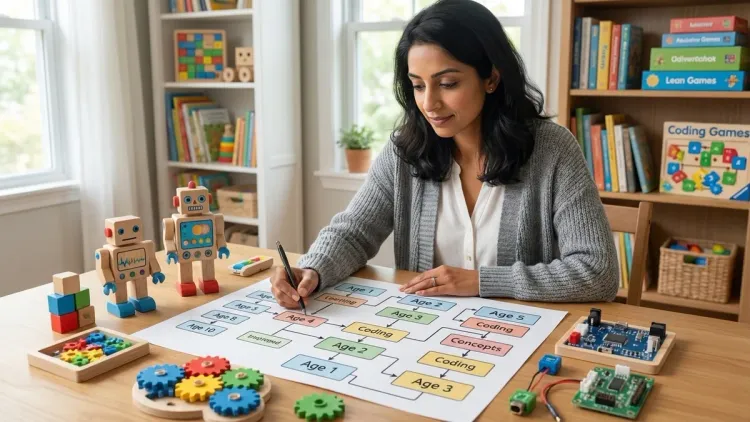
Define your child's current skill tier:
- Tier 1 (Ages 3-5): Concrete Sequencing — Forward/backward/turn commands, no symbolic abstraction
- Tier 2 (Ages 5-7): Symbolic Commands — Icon-based or color-coded instructions, introduction to loops
- Tier 3 (Ages 7-10): Multi-step Algorithms — Conditional logic, function creation, intentional debugging exercises
- Tier 4 (Ages 10-13): Computational Modeling — Complex state machines, nested loops, optimization challenges
Now identify bridges between tiers. The best screen-free kits offer expandability—add-on challenge cards, advanced activity booklets, or companion products that increase complexity without abandoning the core system. This matters tremendously for budgeting: buying three progressive kits from one system costs less than replacing incompatible products every 18 months.
Ask: Does this kit prepare my child for the next learning milestone? If your six-year-old masters a sequencing robot, will the concepts transfer when you introduce block-based robotics programming or Arduino boards? Some screen-free systems deliberately mirror Scratch's command categories—those are your high-ROI investments.
Watch for compatibility dead-ends. Proprietary coding languages or closed ecosystems that don't connect to industry-standard tools (Scratch, Arduino IDE, Python) limit your child's trajectory. The kit should be a stepping stone, not a silo.
The Learning Resources Botley 2.0 offers expansion packs and increasing challenge complexity, making it a strong Tier 2-to-3 bridge option, though some parents find the obstacle pieces feel flimsy after months of daily use.
Step 5: Evaluate Lab Specs for Durability and Practical Use
Screen-free coding kits live on the floor, get stepped on, and endure the creative chaos of actual childhood. Lab specs determine whether your investment lasts six months or six years.
Power requirements: Battery-operated robots need clear documentation of battery type (AA, AAA, rechargeable), quantity, and estimated lifespan per charge. Calculate replacement costs—some kits drain batteries weekly. Rechargeable options cost more upfront but eliminate consumable expenses. Fully mechanical kits (no electronics) never need power but offer limited interactivity.
Component durability: Cardboard coding cards won't survive toddler siblings or enthusiastic seven-year-olds. Plastic tiles crack. Wooden blocks endure decades but cost more. Check user reviews for failure points—do wheels snap off? Do sensors stop responding? Does the main board survive drops?
Storage and organization: Kits with 40+ small pieces need thoughtful storage solutions. Does the kit include a storage container, or will you buy bins separately? Can your child independently set up and clean up, or does component sprawl require adult intervention every session?
Expandability: Can you purchase additional robots, extra coding cards, or new challenge sets? Are these readily available, or do discontinued products leave you stranded?
Noise levels: Some coding robots beep, play music, or announce actions. That's engaging at first, then maddening. Check whether volume controls exist or whether you can disable sound entirely.
Offline functionality: Truly screen-free kits require zero app or computer interaction. Some "unplugged" products need initial setup via tablet, then work independently—clarify this before purchase if you're committed to completely device-free learning.
For building a complete home STEM lab, these specs determine whether coding activities integrate smoothly or create logistical friction that erodes daily practice.
Step 6: Identify Subscription Dependencies and Hidden Consumable Costs
One-time purchase coding kits offer predictable costs and permanent ownership. Subscription-based models provide curriculum progression and new challenges monthly—but create ongoing expenses and access dependencies.
Ask these critical questions:
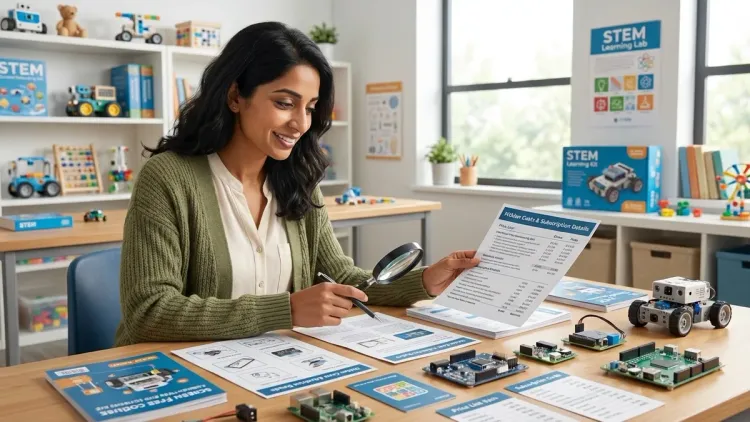
Does the kit function fully without subscriptions? Some companies sell hardware cheaply, then lock advanced features or activity guides behind monthly fees. Read product descriptions carefully—phrases like "includes 3 months of challenges" or "app membership sold separately" signal subscription models.
Are replacement parts available individually? Lost coding cards, broken robot wheels, or missing command tiles shouldn't require buying the entire kit again. Check manufacturer websites for parts availability and pricing.
Do consumables replenish automatically or require manual reorder? Paper activity books, sticker-based coding challenges, or write-on/wipe-off cards eventually wear out. Factor replacement frequency into your budget.
Can multiple children use the same kit simultaneously? If you have siblings, does the system support parallel play, or will you need duplicate kits? Some coding robots work with shared command cards; others require one controller per user.
What happens if the company discontinues the product? Proprietary systems dependent on specific replacement parts become unusable once manufacturers stop production. Open-ended kits with standard components (generic coding cards, universal robot platforms) offer better longevity.
I've seen families invest enthusiastically in a screen-free coding subscription, then find the monthly cadence doesn't match their child's learning pace—too slow for quick learners, overwhelming for kids who need repetition. Understand your flexibility needs before committing.
Step 7: Match Kit Complexity to Available Parent Support Time
Screen-free coding kits exist on a spectrum from plug-and-play (child-directed from day one) to structured curriculum (requires adult facilitation and lesson planning). Your available involvement time matters enormously.
Self-directed kits include clear visual instructions, intuitive interfaces, and built-in challenge progression. Your child unboxes, explores, and learns through trial and error with minimal guidance. These work beautifully for ages 6+ with strong independent play skills or when you're juggling multiple children.
Facilitated kits include parent guides, lesson plans, discussion prompts, and extension activities. They're pedagogically richer but require your active participation—at least initially. Budget 15-30 minutes of setup and guided exploration for early sessions, tapering to check-ins as your child gains confidence.
Assess honestly: How much time can you realistically dedicate? A sophisticated kit that requires daily 20-minute facilitation will gather dust if your schedule doesn't support it. A simpler self-directed option your child actually uses beats an advanced kit that feels like homework.
Progressive independence is the goal. Quality screen-free coding kits scaffold from adult-supported to child-driven over weeks or months. Early sessions might involve working through challenges together; later sessions find your child designing custom obstacle courses independently while you make dinner.
Consider your own computational thinking background. You don't need programming expertise—many parents feel intimidated unnecessarily—but you should feel comfortable reading the instruction manual and troubleshooting basic issues. Some companies offer robust online support, video tutorials, and parent communities; others provide a thin instruction sheet and wish you luck.
For families building comprehensive progressive STEM learning paths, understanding your facilitation capacity helps you sequence learning investments realistically.
Step 8: Test Alignment with Future Technical Pathways

The ultimate question when learning how to choose screen free coding kit by age: Does this prepare my child for real programming languages and industry-standard tools?
Map backward from your long-term goals:
If your child will eventually learn Scratch (ages 8+), prioritize screen-free kits that teach block-based logic categories—motion, looks, control, sensing. The command structures should feel familiar when transitioning to visual programming environments.
If Python is your target (ages 10+), look for kits emphasizing text-like syntax representation, function creation, and variable concepts—even if expressed through physical tokens rather than typed code.
For Arduino and robotics engineering (ages 12+), screen-free foundations should include sensor logic, conditional responses, and physical computing concepts. Your child is learning to think about inputs, outputs, and system states—precisely what matters when programming microcontrollers.
Industry-standard preparation: The best screen-free coding kits don't just teach computational thinking abstractly—they mirror the algorithmic problem-solving professionals use daily. Software engineers debug incrementally, optimize loops, and abstract repetitive tasks into functions. Your seven-year-old doing exactly that with wooden blocks is building career-relevant cognitive patterns.
Ask manufacturers directly: What percentage of users transition successfully to screen-based coding? Do they offer bridge resources or transition curricula? Companies serious about progressive learning publish clear pathways showing how their products connect to subsequent skills.
The coding concepts your child learns through tactile manipulation at age six become the intuitive foundation for text-based programming at age eleven. That transfer isn't automatic—it requires intentional kit selection that honors continuity over novelty.
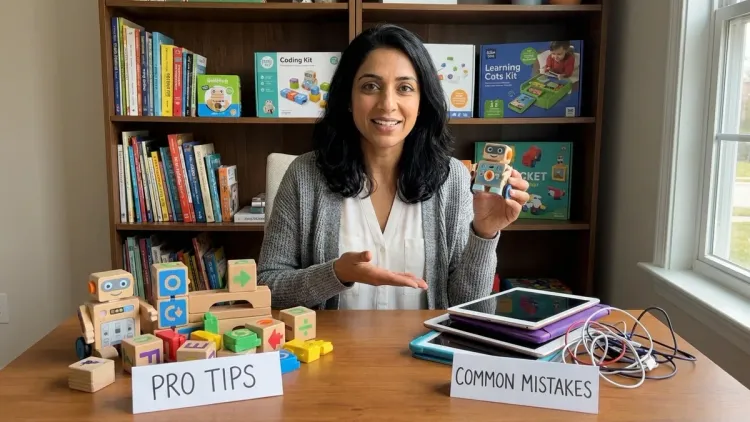
Pro Tips & Common Mistakes
Pro tip: Create a "coding challenge progression journal" where your child draws or describes each completed challenge. This visible record shows skill growth, maintains motivation during plateaus, and helps you identify when they've genuinely outgrown a kit versus hitting temporary frustration. I've seen this simple practice transform coding from "just another toy" into a documented skill-building journey.
Pro tip: Mix screen-free and screen-based coding rather than treating them as opposites. Use tactile kits for initial concept introduction, then reinforce with short Scratch projects, then return to screen-free debugging challenges. The switching strengthens transfer learning and prevents screen-time guilt.
Common mistake: Buying the most advanced kit available because "my child is gifted" or "we want to challenge them." Cognitive readiness doesn't accelerate with ambition. A frustrated eight-year-old with a kit designed for twelve-year-olds learns nothing except that coding feels impossible. Start one tier below where you think they are—early success builds persistence.
Common mistake: Assuming screen-free means "educational" automatically. Some kits are well-designed toys with minimal computational depth. Others are rigorous logic trainers. Don't rely on marketing claims—evaluate against the five computational pillars from Step 2.
Common mistake: Neglecting storage and cleanup systems. Scattered coding components become invisible, then abandoned. Invest in labeled bins, designated shelf space, and a consistent "code lab" area in your home. Physical organization directly impacts engagement consistency.
Common mistake: Comparing your child's pace to siblings, cousins, or online testimonials. Some children grasp loops immediately; others need weeks of concrete manipulation. Developmental variation is normal and doesn't predict future programming aptitude. Patience during foundational stages prevents conceptual gaps later.
Frequently Asked Questions
What age should kids start with screen-free coding kits?
Children can begin exploring screen-free coding concepts as early as age three if the kit matches their fine motor skills and focuses purely on directional sequencing—forward, backward, turn—without symbolic abstraction. However, most children develop the sustained attention and sequential thinking required for meaningful coding activities between ages 4-5, when they can follow multi-step commands and predict outcomes mentally before executing physical actions.
How long should kids use screen-free coding before transitioning to screen-based programming?
Most children benefit from 12-18 months of screen-free coding experience before transitioning to visual programming environments like Scratch, typically around ages 7-8, though individual readiness varies significantly based on their mastery of core concepts like loops, conditionals, and debugging rather than chronological age alone. The transition should happen when your child consistently demonstrates algorithmic thinking—designing multi-step solutions, optimizing repetitive actions, and debugging independently—not simply because they've reached a certain grade level.
Do screen-free coding kits actually prepare kids for real programming languages?
Yes, when chosen carefully, screen-free coding kits build the same computational thinking foundations—sequencing, pattern recognition, algorithmic problem-solving, and systematic debugging—that underpin professional programming, though the transfer requires intentional bridging as children progress toward text-based languages like Python or C++. The key distinction is whether the kit teaches genuine programming logic structures (loops, conditionals, functions) or merely directional play—only the former creates meaningful preparation for industry-standard coding environments.
Are expensive screen-free coding kits worth the investment compared to free online coding games?
Screen-free coding kits offer tactile manipulation and spatial reasoning development that purely digital experiences cannot replicate, making them particularly valuable for children ages 3-8 whose cognitive development benefits significantly from physical object manipulation, though they work best as part of a mixed-media learning approach rather than as complete replacements for screen-based tools. The investment pays off most when kits offer expandability, durability for multi-year use, and clear connections to progressive learning pathways rather than serving as isolated novelties.
Summary

Learning how to choose screen free coding kit by age requires matching developmental readiness markers to specific computational thinking concepts, evaluating tactile interfaces against fine motor capabilities, and ensuring each kit serves as a bridge toward industry-standard programming tools rather than a dead-end novelty. Start by assessing your child's current cognitive tier—concrete sequencing, symbolic commands, multi-step algorithms, or computational modeling—then select kits that teach genuine programming structures like loops, conditionals, and debugging through durable, offline physical interfaces. Factor in lab specs including power requirements, component durability, storage practicality, and expandability options, while clarifying subscription dependencies and your available facilitation time. The right screen-free coding kit honors where your child is developmentally today while building the algorithmic thinking foundation for text-based programming tomorrow—making it a skill-building investment, not just another toy.