FDM 3D printing represents the most accessible entry point into additive manufacturing—the same process that now produces aerospace components, medical devices, and automotive prototypes in professional environments. Understanding what is FDM 3D printing for kids establishes foundational knowledge in CAD-to-physical workflows, iterative design thinking, and manufacturing principles that translate directly into industry practice. The technology requires minimal capital investment compared to other fabrication methods, operates on hardware young learners can maintain independently, and produces tangible outputs that validate design decisions within hours rather than weeks.
What Is FDM 3D Printing?
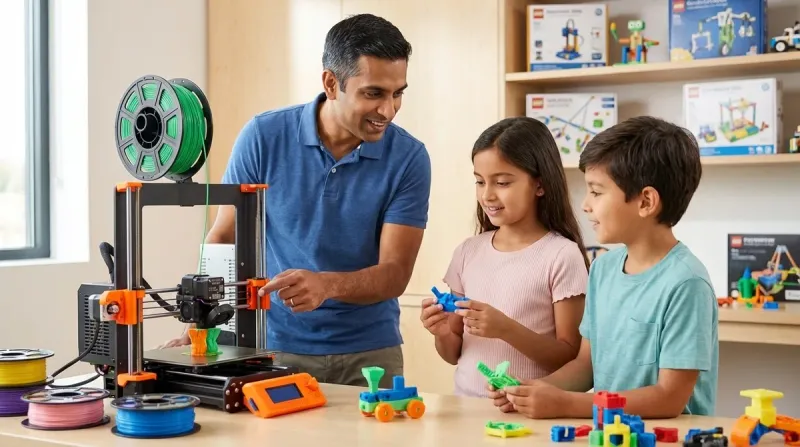
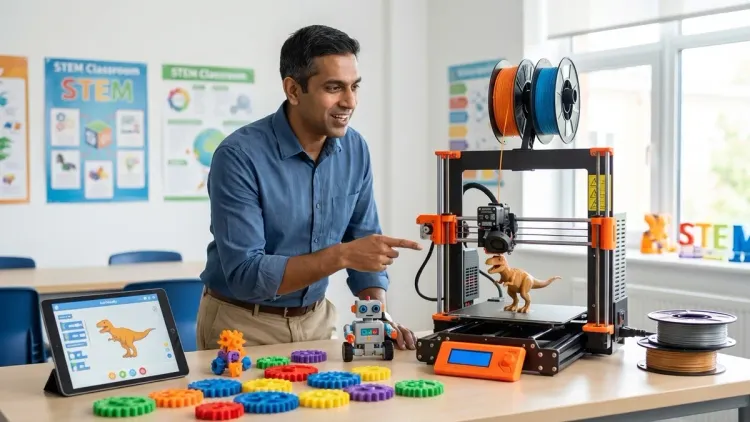
Fused Deposition Modeling (FDM) is an additive manufacturing process that builds three-dimensional objects by extruding thermoplastic filament through a heated nozzle, depositing material layer by layer on a build platform. The term "what is FDM 3D printing for kids" specifically refers to adapting this industrial process for educational contexts—typically through printers with enclosed build volumes, simplified calibration procedures, PLA filament (lower extrusion temperatures), and software interfaces that accommodate block-based or beginner-friendly CAD tools.

The technology originated in the late 1980s as a patent-protected industrial process. When those patents expired in 2009, the RepRap project and subsequent open-source initiatives democratized FDM, driving hardware costs from $15,000+ enterprise systems to sub-$300 educational models. This price collapse created a skill-development opportunity: young learners can now operate the same fundamental process used in engineering firms, gaining hands-on experience with tool paths, infill strategies, support generation, and dimensional accuracy—competencies that appear in mechanical engineering, product design, and manufacturing engineering job descriptions.
Fused Deposition Modeling fundamentally differs from resin-based (SLA/DLP) or powder-based (SLS) additive processes. FDM uses no photopolymers, no laser sintering, no post-cure UV exposure. It's a purely thermal extrusion method, which limits surface finish quality but dramatically simplifies material handling and workspace safety—critical factors when evaluating what is FDM 3D printing for kids in home lab environments.
How FDM 3D Printing Works
The FDM process chain consists of four sequential stages: design, slicing, printing, and post-processing.
Design Stage
Users create 3D models in CAD software—Tinkercad for beginners transitioning from block-based logic, or Fusion 360 for intermediate learners pursuing parametric design skills. The output file format is typically STL (stereolithography), a mesh representation that defines object surfaces as interconnected triangles. This file format is industry-standard; the same STL exported from a child's Tinkercad project can theoretically be sent to a $500 desktop printer or a $50,000 industrial machine.
Slicing Stage
Slicing software (Cura, PrusaSlicer, Simplify3D) converts the STL mesh into G-code—a machine instruction language that directs the printer's stepper motors, heaters, and fans. The slicer calculates:
- Layer height: Typically 0.1–0.3mm for educational printers; smaller layers improve surface finish but extend print time
- Infill pattern and density: Internal honeycomb or gyroid structures that balance material usage with structural strength
- Support structures: Temporary scaffolding for overhangs exceeding ~45° angles, later removed manually
- Print speed and temperature: Matched to filament type (PLA at 190–220°C, PETG at 220–250°C, ABS at 230–260°C)
This stage represents the first substantive engineering decision-making opportunity. A 20% infill prints faster and uses less material than 80% infill, but the structural implications differ. Young learners experiment with these parameters, observe mechanical failures (parts breaking under stress), then iterate—replicating the design validation cycle used in professional product development.
Printing Stage
The printer executes G-code instructions:
- Bed leveling: The build platform must sit parallel to the nozzle travel plane within ~0.1mm tolerance; many 2026 educational printers include automatic mesh bed leveling to reduce this calibration burden
- Heating: The nozzle reaches target extrusion temperature (190–260°C depending on material); the heated bed reaches 50–80°C to prevent warping
- Extrusion: A stepper motor pushes filament through a PTFE-lined tube into the hot end, where it melts and extrudes through a brass nozzle (typically 0.4mm diameter)
- Deposition: The print head moves in XY axes while depositing material; after each layer, the Z-axis increments upward by the layer height
Print times range from 30 minutes for simple geometric shapes to 12+ hours for complex assemblies. This extended feedback loop teaches patience and planning—skills absent from instant-gratification digital environments.
Post-Processing Stage
Completed prints require support removal (pliers or flush cutters), surface sanding for dimensional accuracy, and occasionally acetone vapor smoothing (ABS only) or paint finishing. This tactile phase reinforces that digital designs exist in physical reality with manufacturing constraints—bridging the gap between screen-based CAD work and tangible outputs.
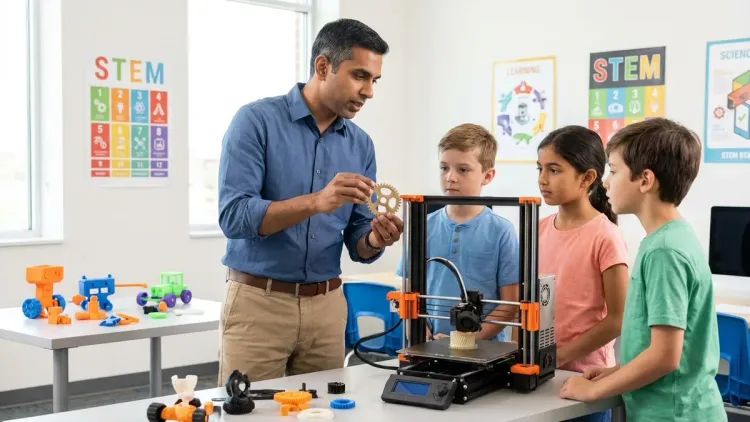
Why Understanding FDM Matters for Young Learners
Industry alignment: 73% of product design job postings in 2025 listed 3D printing experience as preferred or required (Indeed Skills Gap Report). Competency in what is FDM 3D printing for kids establishes early familiarity with rapid prototyping workflows before university coursework.
Iterative design reinforcement: Unlike traditional manufacturing (injection molding, CNC machining), FDM enables same-day iteration cycles. A child designs a bracket in Tinkercad at 10am, prints it by 2pm, discovers a mounting hole misalignment, redesigns by 3pm, and reprints by 6pm. This tight feedback loop builds tolerance for failure and comfort with revision—competencies that distinguish effective engineers from those who avoid risk.
Cross-domain skill integration: FDM projects inherently combine CAD software proficiency, basic physics (thermal expansion, material properties), geometry (calculating volumes, surface areas), and problem-solving under constraints (build volume limits, print time budgets). This skill layering mirrors the integration required when transitioning from screen-free coding to Arduino programming, where multiple competency domains converge.
Tangible validation: A printed gear assembly either meshes correctly or it doesn't. Tolerances matter; a 0.2mm dimensional error causes mechanical binding. This immediate physical feedback eliminates the ambiguity present in purely digital projects, forcing attention to precision and measurement.
Types & Variations in Educational FDM Printers
Educational FDM printers fall into three categories based on safety architecture, calibration complexity, and expandability.
Fully Enclosed Systems
Examples include the Flashforge Adventurer 5M and Dremel DigiLab 3D45. These units feature complete enclosures, integrated HEPA filtration, automatic bed leveling, and proprietary slicing software. They prioritize safety and ease-of-use over technical learning depth. Trade-off: Students gain printing experience but limited exposure to calibration procedures, G-code parameters, or hardware troubleshooting—skills that separate printer operators from printer technicians in hiring contexts.
Semi-Open Frame Systems
The Creality Ender 3 V3 SE represents this category—partial enclosures, manual bed leveling (or optional auto-leveling upgrades), open-source firmware (Marlin), and compatibility with any slicing software. These printers expose more of the mechanical and software stack, requiring students to understand belt tensioning, nozzle replacement, and firmware configuration. Detailed comparisons between enclosed and open-frame architectures show that semi-open systems better prepare learners for the troubleshooting demands of professional 3D printing environments.
Modular/Kit Printers
Units like the Prusa i3 MK4 (sold as kits or pre-assembled) require complete assembly from components—stepper motors, linear rails, control boards, wiring harnesses. Assembly time ranges 6–12 hours. This category provides maximum technical depth: students learn how limit switches trigger homing sequences, how thermistors enable closed-loop temperature control, and how belt tension affects print quality. The time investment is substantial, but the resulting hardware literacy aligns with mechatronics and robotics engineering curricula.
Lab Specs for FDM Printing Stations
Power requirements: Most educational FDM printers draw 150–350W during printing (comparable to a desktop computer). Dedicated 15A circuits are unnecessary unless running multiple printers simultaneously. Complete power and ventilation specifications for home STEM lab setups address multi-printer installations.
Connectivity: Modern units support USB, SD card, and WiFi. WiFi enables remote monitoring via smartphone apps but introduces network security considerations (IoT devices on isolated VLANs). SD card workflows eliminate software compatibility issues—sliced G-code transfers universally.
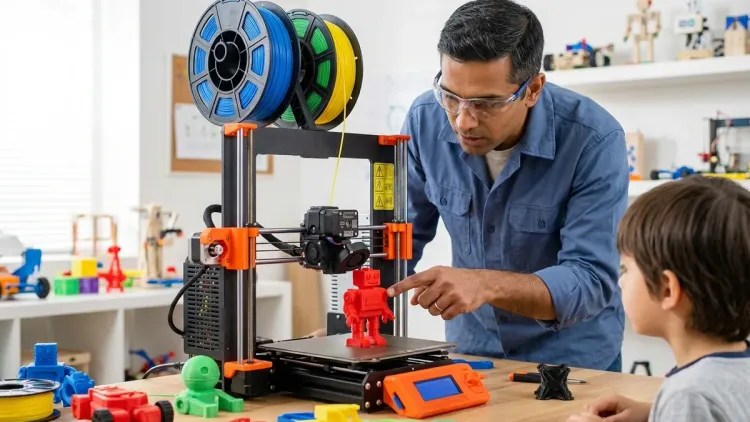
Filament ecosystem: PLA dominates educational settings (low odor, no enclosure required, 190–220°C extrusion). PETG offers improved durability and weather resistance but requires 220–250°C and potential enclosure for consistent results. ABS provides maximum mechanical strength but emits styrene fumes requiring active ventilation. Comprehensive filament selection guidance details material properties against age-appropriate use cases.
Build volume vs footprint: Entry-level educational printers typically offer 180×180×180mm to 220×220×250mm build volumes. Larger volumes enable more ambitious projects but increase footprint and print times. A 220mm cube build volume accommodates 95% of educational project requirements without monopolizing workspace.
Expandability: Open-source printers accept third-party hot ends, direct-drive extruders, all-metal heat breaks (enabling high-temperature engineering filaments), and dual-extrusion upgrades. Proprietary systems lock users into manufacturer-approved configurations. Expandability determines whether a $300 printer remains relevant for three years or becomes obsolete when skills outpace hardware capability.
Durability considerations: Educational environments demand printers that tolerate repeated bed leveling, nozzle changes, and filament swaps. Look for spring steel removable build plates (easier part removal than glass beds), readily available replacement nozzles (brass wears quickly with abrasive filaments), and accessible component layouts that don't require full disassembly for routine maintenance.
Frequently Asked Questions
What age should kids start learning FDM 3D printing?
Children aged 10–12 can independently operate FDM printers with appropriate supervision, provided they demonstrate competency in CAD software and understand 3D printer safety protocols including thermal hazards and moving parts. Ages 8–9 can participate in supervised printing projects but typically lack the fine motor control for nozzle changes and bed leveling procedures. The limiting factor is usually CAD proficiency rather than printer operation—students must design functional models before printing becomes educationally meaningful.
How does FDM printing prepare kids for STEM careers?
FDM printing develops three career-relevant competency clusters: CAD-to-manufacturing workflows used in mechanical engineering and product design, iterative prototyping methodology that mirrors software development cycles, and hands-on troubleshooting skills (diagnosing print failures, adjusting parameters) that translate directly into manufacturing engineering and quality assurance roles. The technology also provides concrete context for abstract STEM concepts—thermal expansion, friction coefficients, vector mathematics in tool path generation—making theoretical coursework applicable to physical outcomes.
What is the difference between FDM and other 3D printing technologies for kids?
FDM uses thermoplastic filament extruded through a heated nozzle; resin printers (SLA/DLP) use liquid photopolymer cured by UV light. Resin produces higher resolution and smoother surfaces but requires post-processing with isopropyl alcohol, generates more hazardous waste, and uses proprietary resins costing 3–5× more than FDM filament. For educational contexts, FDM offers superior material safety, lower consumable costs, and simpler waste disposal, though resin printers excel for jewelry design and dental model applications requiring sub-0.05mm detail resolution.
Do FDM 3D printers require ongoing subscription costs or consumables?
FDM printers require consumable filament (typically $15–25 per kilogram of PLA) and occasional replacement nozzles ($5–15 for brass, $30–50 for hardened steel). No mandatory subscriptions exist for open-source printers using free slicing software like Cura or PrusaSlicer. Proprietary printers (Flashforge, MakerBot) may push users toward manufacturer-branded filament through chip-locked spools or optimized profiles, but aftermarket filament remains compatible. Initial setup cost breakdowns including recurring consumables clarify total ownership expenses beyond printer purchase price.
How does learning FDM printing fit into a progressive STEM learning path?
FDM printing logically follows CAD software proficiency and precedes parametric design or engineering simulation courses. A typical progression: ages 8–10 focus on Tinkercad basics and geometric design principles, ages 11–13 integrate FDM printing to validate designs physically and develop manufacturing awareness, ages 14–16 advance to Fusion 360 parametric modeling with functional assemblies and tolerance analysis, ages 16+ transition to engineering simulation (finite element analysis) and multi-material printing with engineering-grade thermoplastics. This sequence mirrors university mechanical engineering curricula compressed into a 6–8 year timeline.
Summary
Understanding what is FDM 3D printing for kids establishes competency in the dominant additive manufacturing process used across product design, aerospace, medical device, and automotive industries. The technology converts digital CAD models into physical objects through layer-by-layer thermoplastic extrusion, requiring students to navigate the complete design-to-manufacturing workflow from 3D modeling software through slicing parameter optimization to physical post-processing. Educational FDM printers range from fully enclosed plug-and-play systems prioritizing safety over technical depth, to open-frame and kit printers that expose the complete mechanical and software stack for maximum learning value. Material costs remain low (PLA filament under $25/kg), no subscriptions are required for open-source systems, and the skill progression directly maps to hiring requirements in engineering disciplines. The investment delivers measurable returns when integrated into progressive STEM learning paths that advance from basic CAD literacy through manufacturing-aware parametric design.