
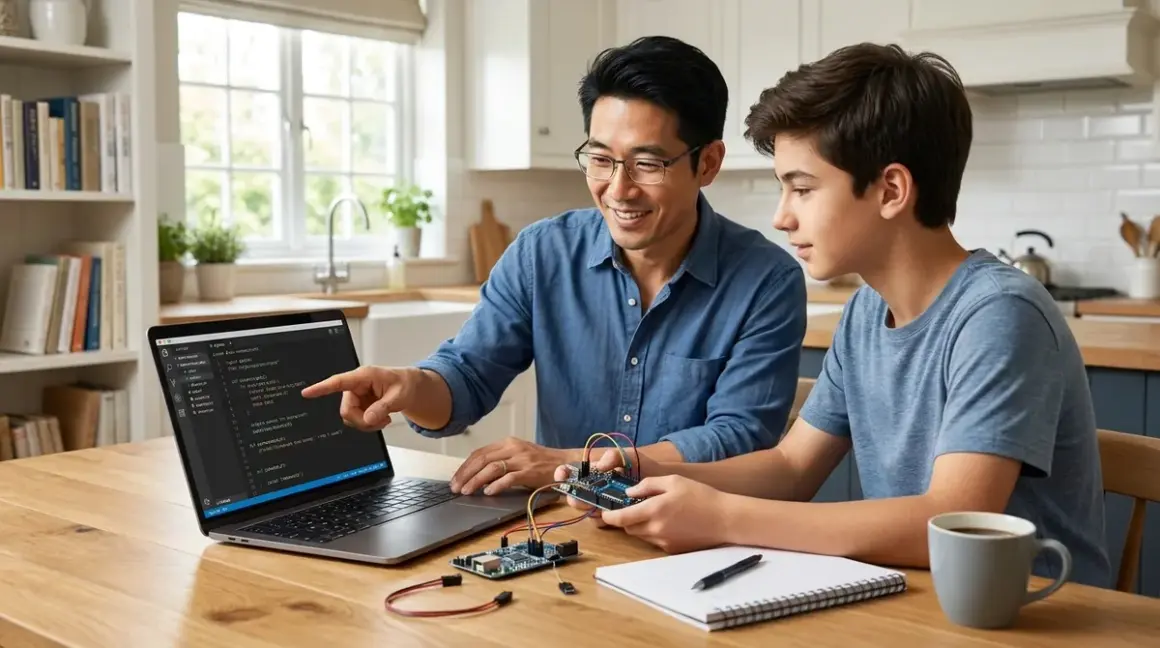

I've watched hundreds of teenagers walk into our fab lab with zero coding experience and walk out six months later building their own sensor arrays, automating 3D printer workflows, and scraping data from APIs. The difference between the kids who stick with it and those who bounce off? A structured learning path that connects Python to physical outcomes they can see and touch. Teaching teenagers Python isn't about memorizing syntax—it's about building a capability that unlocks real engineering tools.
This guide walks you through the entire setup process, from hardware requirements to your first meaningful project. Expect 3-6 months to get from complete beginner to building functional programs that control hardware. We're building toward industry-standard workflows here—the same Python that runs professional CNC machines, scientific instruments, and production automation systems.
What you'll learn: How to set up a complete Python development environment, structure a progressive curriculum, choose hardware that bridges code to physical results, and troubleshoot the common friction points that derail beginners.
What You'll Need
Hardware Requirements
- Computer running Windows 10/11, macOS 12+, or Ubuntu 20.04+ (4GB RAM minimum, 8GB strongly recommended—Python IDEs get memory-hungry)
- Reliable internet connection (for package downloads and documentation—Python development is cloud-dependent for libraries)
- Arduino Uno R3 or R4 (around $25-30 for official boards—essential for bridging code to hardware)
- USB A-to-B cable (most Arduinos still use this older connector)
- Basic electronics kit (breadboard, jumper wires, LEDs, resistors, sensors—around $20-30 for a starter pack)
Software Stack
- Python 3.11 or 3.12 (free from Python.org)
- Visual Studio Code (free, cross-platform—this is what professionals use)
- Arduino IDE 2.x (free—needed for flashing firmware to microcontrollers)
- Git for version control (free—teach proper workflow from day one)
Time Investment
- 2-3 hours weekly for structured lessons (consistency matters more than intensity)
- 3-6 months to reach functional competency (writing programs that do useful work)
- 12-18 months to industry-ready foundations (ready for AP Computer Science Principles or entry-level freelance work)
Parent Prerequisites
- No coding experience required (you're facilitating, not teaching—the materials do that)
- Ability to troubleshoot basic computer issues (driver installations, file permissions, network problems)
- Willingness to learn alongside your teen (I've seen this accelerate progress dramatically)
Step 1: Set Up the Development Environment Properly
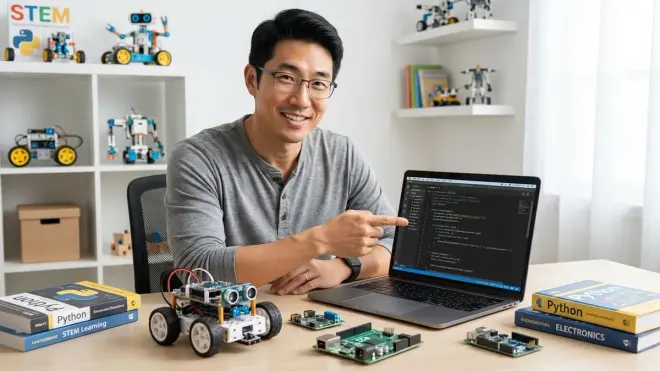
This is where most families stumble. Don't just install Python and hope for the best. I've debugged too many setups where PATH variables weren't configured, multiple Python versions were fighting each other, or the IDE couldn't find the interpreter.
Download Python from the official source—use the Python.org installer, not the Microsoft Store version. During installation, check "Add Python to PATH" on the first screen. This single checkbox saves hours of frustration later. After installation, open a terminal (Command Prompt on Windows, Terminal on Mac/Linux) and type python --version. You should see something like "Python 3.12.1". If you get "command not found," the PATH didn't set correctly.
Next, install Visual Studio Code. Skip IDLE and Thonny—they're fine for absolute beginners but create bad habits. VS Code is what professional developers use, and the transition from beginner exercises to real projects is seamless. Install the Python extension from Microsoft (it's the one with 80+ million downloads). This gives you syntax highlighting, debugging tools, and integrated terminal access.
Create a dedicated project folder—I use ~/Documents/PythonProjects/ on Mac or C:\Users\[YourName]\PythonProjects\ on Windows. **Never work directly in Downloads or Desktop.** Teach file organization from the start. Inside this folder, create subfolders for each project: 01-hello-world, 02-calculator, 03-led-blink, etc. The numbering creates a visual progression path.
Install Git even if version control feels premature. Run git config --global user.name "Your Name" and git config --global user.email "email@example.com" from the terminal. You won't use branches or merge conflicts yet, but having git init, git add, git commit in the workflow from day one builds muscle memory. When they hit their first "I broke everything and need to undo three hours of changes" moment (and they will), they'll understand why version control exists.
Test the installation with a simple program. Create a file called test.py with one line: print("Setup complete!"). Run it from VS Code's integrated terminal with python test.py. If you see the output, you're ready. If not, check that VS Code is pointing to the correct Python interpreter (bottom-left corner of the window).
Step 2: Start with Concrete, Physical Projects Instead of Abstract Tutorials
Here's the pattern I've seen fail repeatedly: parent buys a textbook or online course, teenager works through syntax examples for three weeks (variables, loops, functions), gets bored, quits. The problem isn't the teenager—it's that abstract coding exercises have zero connection to anything they care about.
Instead, start with a project that produces visible results in the physical world. The Elegoo UNO R3 Super Starter Kit includes everything you need for around $40—Arduino board, breadboard, LEDs, sensors, motors, and a decent component selection. This is the unlock for teaching teenagers Python—you're not printing numbers to a console, you're controlling real hardware.
Install the PySerial library: pip install pyserial from your terminal. This lets Python talk to the Arduino over USB. Write a simple Python script that sends serial commands to turn an LED on and off. The Arduino runs a basic firmware (written in C++—use the standard Blink example modified to accept serial input), and your Python script acts as the controller.
Here's why this works: teenagers see immediate cause and effect. They type code, run the program, an LED lights up. Change the timing value, the LED blinks faster. Add a loop, it creates a pattern. Within 30 minutes of their first lesson, they've built something that exists outside the screen.
Progress from LED control to sensor reading. Use a temperature sensor—the DHT11 is reliable and around $2. Write Python code that reads serial data from the Arduino (which is reading the sensor) and displays it with a timestamp. Now you're logging environmental data. Add a threshold: if temperature exceeds a value, trigger an LED. Congratulations, you've built a physical feedback system.
Don't skip the Arduino step and try to use a Raspberry Pi for GPIO control. I know it seems simpler—one device instead of two. But the Raspberry Pi's GPIO pins are finicky, require root permissions, and abstract away too much. The Arduino-as-peripheral approach teaches proper hardware interfacing, which is how industrial systems actually work. The Pi comes later, when they understand the communication layer.
This physical-first approach creates a natural learning path toward automation projects that connect to 3D printers, CNC machines, and sensor networks—all the tools in a well-equipped home STEM lab.
Step 3: Build a Progressive Curriculum Around Skill Milestones, Not Chapters
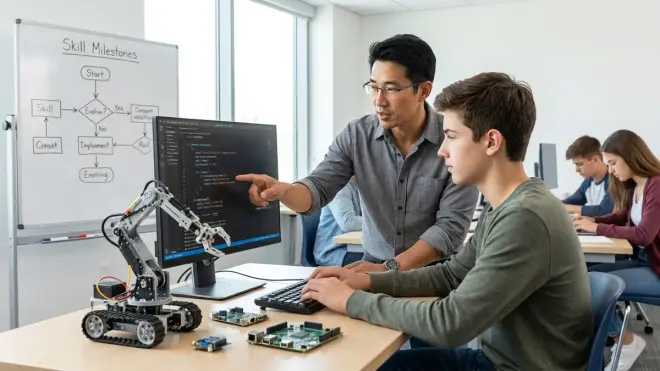
Textbooks organize content by language features. That's backwards for teaching teenagers Python. Organize by capabilities unlocked. Each project should enable something they couldn't do before.
Milestone 1: Control digital outputs (Weeks 1-2)
Turn LEDs on/off, create blink patterns, build a traffic light simulator. Core concepts covered: variables, serial communication, time delays, basic loops. Success metric: they can make an LED do what they want without looking at example code.
Milestone 2: Read sensor data (Weeks 3-4)
Temperature logging, light level monitoring, distance measurement with ultrasonic sensors. Core concepts: reading serial input, parsing strings, data types, basic arithmetic. Success metric: they can display real-time sensor values and understand what the numbers mean.
Milestone 3: Make decisions based on data (Weeks 5-7)
Conditional logic (if/else), threshold triggers, state machines. Build a thermostat simulator—read temperature, turn a "heater" LED on when cold, off when warm. Success metric: the system responds correctly to changing conditions without human intervention.
Milestone 4: Store and analyze data (Weeks 8-10)
Write sensor readings to CSV files, calculate averages/min/max, create simple text-based graphs. Core concepts: file I/O, lists, basic statistics, string formatting. Success metric: they can collect a day's worth of data and extract meaningful patterns.
Milestone 5: Build reusable tools (Weeks 11-14)
Functions, modules, proper code organization. Refactor previous projects into clean, reusable components. Success metric: they can import their own sensor-reading module into a new project without copy-pasting code.
Milestone 6: Create interactive programs (Weeks 15-18)
User input, error handling, menu systems. Build a command-line interface for controlling multiple devices. Core concepts: input validation, exception handling, while loops for menu systems. Success metric: someone else can use their program without breaking it.
Each milestone builds directly on the previous one. You're not teaching Python—you're building engineering capability. The syntax is just the tool. I've watched this progression take teenagers from zero to contributing to our fab lab's equipment monitoring system in six months.
The projects should gradually shift from "follow these exact instructions" to "here's the goal, figure out the steps." By Milestone 4, I'm giving them outcomes ("log temperature every 10 minutes for 24 hours and find the average") without explicit code structure. This is where real learning happens—applying known concepts to novel problems.
Step 4: Integrate Version Control and Documentation from Day One
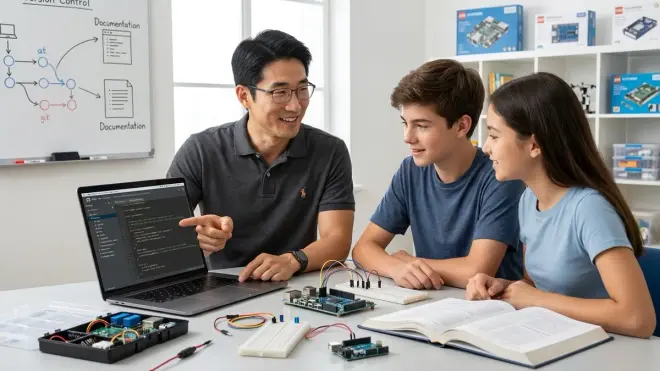
Professional developers spend more time reading code than writing it. Teach your teenager to document and track changes from their very first project. This seems premature—why burden a beginner with Git workflows?—but it's actually easier to learn good habits before bad ones calcify.
Every project starts the same way: create the folder, cd into it, run git init. Before writing any code, create a README.md file. This is where they describe (in plain English) what the project does, what hardware it requires, and how to run it. Make the README non-negotiable. If the project folder doesn't have one, they don't start coding.
After each work session—not just when a project is "done"—commit the changes. The commit message should describe what changed: "Added temperature threshold trigger" or "Fixed LED blink timing bug." I've seen teenagers get frustrated debugging a change, unable to remember what worked yesterday. That's when version control clicks: git log shows exactly what changed, git diff shows the specific lines, git checkout [old-commit] lets them recover the working version.
Documentation isn't busywork—it's how you externalize your thinking. I run a simple test: can your teenager open a project from two months ago, read the README, and run it successfully? If not, the documentation failed. This skill matters. In our fab lab, the difference between equipment that gets used and equipment that sits idle is often just clear documentation. The same laser cutter, identical capabilities—one has a step-by-step startup guide taped to the wall, the other requires institutional knowledge. Guess which one teenagers actually use.
Comments in code follow the same principle: explain why, not what. Don't write # Turn LED on—the code digitalWrite(13, HIGH) already says that. Write # Trigger alert LED when temperature exceeds 30°C threshold. The why helps future-you (or future-someone-else) understand the decision.
Create a master project index—a single README.md in the top-level PythonProjects folder that lists every project with a one-line description and key concepts learned. This becomes a portfolio. When they're ready to transition to more complex robotics projects or apply for STEM competitions, they have documented evidence of progressive skill development.
Step 5: Use Hardware Projects to Teach Computer Science Fundamentals
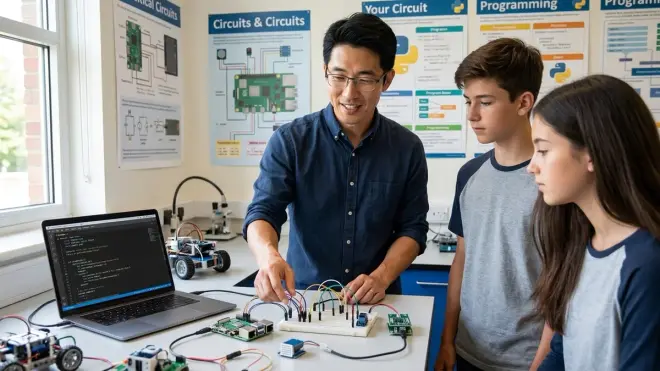
The dirty secret of teaching teenagers Python: most CS concepts are abstract and boring until you connect them to something tangible. Variables, loops, and functions mean nothing until they control real behavior.
I teach binary using LEDs. Eight LEDs in a row, each representing a bit. Write a Python program that converts decimal numbers to binary and displays them on the LED strip. Now binary isn't abstract—it's the pattern of lights. Counting in binary becomes a game: what does 37 look like? What happens when you overflow 255?
State machines become concrete when you build a traffic light controller. The light can be in one of four states: North-South green, transition, East-West green, transition. Each state determines LED behavior and what state comes next. Draw the state diagram on paper first, then implement it in Python. This is exactly how industrial control systems work. The traffic light is a trivial example, but the pattern scales to CNC machine controllers and automated manufacturing systems.
Teach loops and timing with LED animations. A single LED marching down a strip (for loop). A breathing pattern that gradually brightens and dims (while loop with PWM simulation). Random twinkle effects (introducing the random library). Each concept has a visible, debuggable output. When the animation doesn't look right, the bug is obvious.
Data structures become relevant when you're logging multiple sensors. Store temperature, humidity, and light readings in a list of dictionaries. Each entry is a snapshot: {"time": timestamp, "temp": 24.5, "humidity": 45, "light": 320}. Now you need to iterate through the list to find maximums, calculate averages, identify trends. The data structure isn't theoretical—it's the most efficient way to organize real measurements.
Don't teach object-oriented programming until they need it. I see a lot of curricula rush into classes and inheritance way too early. Wait until they're building complex projects where objects make sense—a Sensor class that handles initialization, reading, and calibration; a Device class that manages multiple hardware components. The abstraction should solve a problem they've already experienced.
Integrate this approach with broader STEM learning paths that connect programming skills to mechanical design, electronics, and data analysis.
Step 6: Connect Python Skills to Industry-Standard Workflows
One question teenagers ask constantly: "When will I actually use this?" Show them the path from classroom exercises to professional tools immediately.
Python runs production equipment. I use it daily to control laser cutters, monitor 3D printer farms, and automate CNC toolpath generation. The same pyserial library they're using for LED control talks to industrial controllers. The same file I/O operations they're using to log sensor data export manufacturing reports. The syntax is identical—only the scale changes.
Introduce numpy early (around Milestone 4) for numerical operations. This is the foundation of scientific computing. Use it to analyze sensor data—calculate moving averages, identify outliers, smooth noisy readings. NumPy is what makes Python viable for engineering. The standard library is fine for learning, but professional work requires faster array operations.
Around Milestone 5, add matplotlib for data visualization. Generate actual graphs from sensor logs—temperature over time, correlation between humidity and light levels. This is the same tool used for scientific publication graphics, engineering reports, and data science work. The jump from "print numbers to console" to "generate publication-quality plots" is transformative for engagement.
Show them GitHub. Create an account, push their projects to public repositories. This is their portfolio. When they apply for summer internships, STEM programs, or college applications, they have a public record of skill development. I've written recommendation letters for teenagers in our fab lab—the ones with active GitHub accounts showing progressive complexity get much stronger letters than equally skilled kids with no visible work.
Connect Python to other tools in their home STEM lab setup. Write Python scripts that generate STL files for 3D printing (using the numpy-stl library), automate G-code modifications for CNC work, or process images from microscope cameras. The more connections between tools, the more powerful each individual skill becomes.
Industry pathway example: A teenager who completes this six-month curriculum is ready for AP Computer Science Principles, can contribute meaningfully to high school robotics teams, qualifies for entry-level Python automation freelance work, and has the foundation for machine learning exploration. That's a concrete capability progression, not vague "STEM skills."
If they're interested in AI applications, this foundation prepares them perfectly for machine learning projects designed for young learners.
Step 7: Build Real Projects That Solve Actual Problems
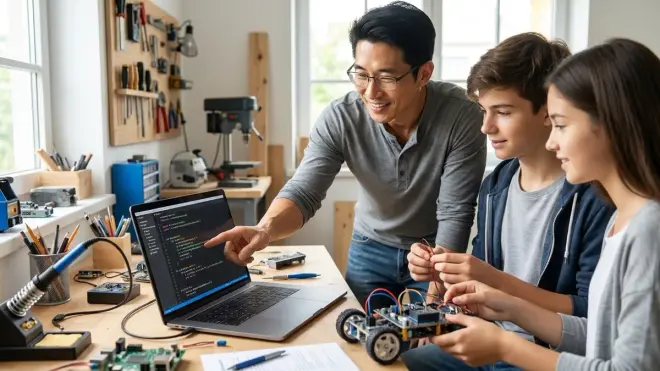
By month three or four, your teenager should be identifying problems and designing solutions independently. Stop assigning projects—start facilitating them.
The best projects come from their environment. Is their bedroom too hot in summer? Build a temperature monitor that logs data and identifies when to open windows. Do they forget to water plants? Create a soil moisture sensor with an alert system. Is the garage door left open overnight? Build a door state monitor with timestamp logging.
I've seen incredibly creative solutions emerge when teenagers have tools and permission to solve real problems. One kid in our fab lab built a Python-based reminder system for his younger siblings' medication schedules—sensor on the pill bottle, RFID tag tracking, automated parent notification. Another built an automated pet feeder with portion control and feeding logs. These aren't tutorial projects—they're engineering solutions.
The project should require integration of multiple concepts. A good month-four project involves: hardware interfacing (sensors/outputs), data logging (file I/O), decision logic (conditionals), user interaction (input/menus), and error handling (what happens when sensors fail?). This forces synthesis rather than isolated skill practice.
Help them scope appropriately. The classic beginner mistake is attempting projects way too large. "I want to build a fully autonomous robot that recognizes faces and follows people around" is a six-month project for an experienced team, not a two-week project for a beginner. Break it into phases: first, make a robot that moves forward; then, add obstacle detection; then, add following behavior based on distance sensors. Face recognition comes way later.
Encourage terrible first versions. The first implementation will be messy, poorly structured, and fragile. That's fine. Build it, make it work, then refactor. Version 2 applies the lessons from version 1. This is authentic engineering process—professionals iterate constantly. The difference between a beginner and an intermediate developer isn't that intermediates write perfect code first try; it's that they recognize messy code and know how to improve it.
Real projects create opportunities to discuss engineering tradeoffs. Do you log sensor data every second (high resolution, large files) or every minute (lower resolution, manageable files)? Do you validate every user input (safer, more code) or trust expected behavior (simpler, more fragile)? There's no single right answer—only tradeoffs based on requirements and constraints.
These practical projects connect naturally to broader engineering education for teenagers and provide concrete examples for STEM competition entries.
Step 8: Troubleshoot the Common Failure Modes
I've watched dozens of families start teaching teenagers Python. Here are the patterns that derail progress:
Failure mode 1: Moving too fast through fundamentals. You can read a Python tutorial in a weekend, but understanding takes months of practice. If your teenager can't explain why a loop works without looking at examples, they're not ready to move on. Slow down. Build more projects at the current level until concepts become automatic.
Failure mode 2: No physical connection. Pure software projects—text-based games, calculators, number manipulation—bore most teenagers quickly. The engagement comes from controlling real things. If motivation drops, add hardware.
Failure mode 3: Parent as bottleneck. If you're debugging every error, explaining every concept, structuring every project, you've become a dependency. Your job is to set up the environment, point to resources, and get out of the way. Let them struggle. Productive struggle (sitting with a problem for 20 minutes before finding the solution) builds problem-solving capacity. Unproductive struggle (stuck for hours without progress) means the problem is too hard.
Failure mode 4: Perfectionism blocking progress. Some teenagers won't move to a new project until the current one is "perfect." This never happens. Teach the concept of "good enough for current requirements." The code works, it's readable, it solves the problem—ship it. Come back later if you need to.
Failure mode 5: Tutorial hell. Watching endless YouTube tutorials without building anything. Tutorials create the illusion of progress—you understand while watching, but can't recreate without the video. Limit tutorial time. If they watch a 30-minute tutorial, they need to spend 90 minutes building something related without watching it again.
Lab Specs note: Temperature matters for electronics reliability. Keep the work area under 30°C (86°F) if possible—heat accelerates component failure and makes debugging frustrating. Adequate lighting (500+ lux at desk level) reduces eye strain during long coding sessions. USB cables need stress relief—the constant plug/unplug cycle breaks cheap cables within months. Budget for decent cables (around $8-10) with proper shielding and strain relief boots.
Pro Tips & Common Mistakes
Install Python packages in virtual environments, not globally. Once your teenager moves beyond basic tutorials, use venv to create isolated environments for each project. Run python -m venv env in the project folder, activate it (source env/bin/activate on Mac/Linux, env\Scripts\activate on Windows), then install packages. This prevents version conflicts when different projects need different library versions. It feels like overkill for beginners—it's not. The first time they upgrade a library and break three old projects, they'll understand.
Keep a "solved problems" reference folder. When they figure out something tricky—parsing CSV files correctly, handling serial communication errors, generating timestamp strings—save the working code snippet in a reference folder with comments explaining how it works. This becomes their personal documentation. I still reference solutions I figured out years ago.
Test on battery power occasionally. If projects involve portable hardware (Arduino with battery pack), USB power and battery power don't always behave identically. Voltage drop under battery power can cause brownouts that don't happen when powered over USB. Run the full project on its intended power source before calling it complete.
The Arduino IDE's serial monitor and Python serial communication can't run simultaneously. Close the Arduino serial monitor before running Python scripts that open the serial port, or you'll get "port already in use" errors. This confuses beginners constantly. Also, on Windows, note the COM port number—it changes if you use different USB ports.
Backup project folders regularly. Git handles version history within projects, but doesn't protect against hard drive failure or accidental folder deletion. Set up automated backups to external drive or cloud storage. I've seen teenagers lose months of work to failed drives—devastating for morale.
Common mistake: Using time.sleep() for precise timing. Sleep is approximate. If you need accurate time intervals (e.g., sensor sampling at exact intervals), check elapsed time and compensate for execution duration. The difference between time.sleep(1) happening every 1.0 seconds versus every 1.003 seconds matters when logging data for hours.
Read error messages completely. Beginners see an error and panic. Python error messages are remarkably helpful—they tell you the exact line, what went wrong, and often suggest fixes. Teach them to read from the bottom up (most recent error first) and Google the specific error message. "Python IndentationError" returns better results than "my code doesn't work."
Frequently Asked Questions
How long does it take for a teenager with no programming experience to write useful Python programs?
With consistent practice (2-3 hours weekly), expect 3-4 months to write functional programs that control hardware, log data, and respond to inputs—what I'd call "useful" in a practical sense. Capability milestones matter more than timeline: they should reach basic sensor data logging around week 8, conditional control around week 10, and file-based data analysis around week 12. By month six, teenagers following this progression typically write programs that solve real problems in their environment without following tutorials step-by-step—that's when Python becomes genuinely useful rather than an academic exercise.
Should we start with Scratch or go straight to Python for teenagers?
Go straight to Python for teenagers 13 and older. Scratch builds computational thinking for younger kids, but teenagers find the block-based interface patronizing and the transition to text-based programming requires relearning syntax anyway. If your teenager has zero programming exposure, spend maybe 2-3 sessions with Scratch to introduce loops and conditionals conceptually, then switch to Python. The visual representation helps some learners initially, but text-based code is the professional tool and teenagers are developmentally ready for it. The exception: if they're already comfortable with block-based robotics platforms, that foundation transfers well and you can skip Scratch entirely.
What hardware should we buy first for teaching teenagers Python with physical projects?
Start with an official Arduino Uno R3 or R4 (around $25-30) plus a basic electronics starter kit containing breadboard, jumper wires, LEDs, resistors, and a few sensors—complete kits run around $40-50 total. The Elegoo UNO R3 Super Starter Kit includes everything needed for the first 10-15 projects and has clear documentation. Avoid cheap Arduino clones initially—driver issues and inconsistent quality create frustration that derails beginners. Expandability matters: after 2-3 months, add sensors relevant to their interests (temperature/humidity for environmental monitoring, ultrasonic for robotics, photoresistors for light-based projects). Budget around $100-120 for the first six months including the initial kit, expansion sensors, and replacement components—LEDs and breadboard wires fail with repeated use.
Can my teenager learn Python entirely from free online resources or should we buy a curriculum?
Free resources are completely sufficient if you provide structure and accountability. The official Python documentation, free Arduino tutorials, and YouTube channels like Corey Schafer or Tech With Tim cover everything needed for the first year. The challenge isn't finding information—it's organizing it into a progressive path and maintaining momentum. A paid curriculum (around $200-500 for comprehensive programs) provides that structure built-in, plus graded projects and sometimes mentor access. My recommendation: start with the free path outlined in this guide for 2-3 months. If your teenager thrives with self-directed learning and you can facilitate the progression, continue free. If they need external accountability, deadlines, and structured feedback, a paid curriculum becomes worth the investment around month four when projects get complex.
Summary
Teaching teenagers Python at home succeeds when you connect code to physical results immediately, organize learning around capability milestones rather than syntax chapters, and build toward industry-standard tools from day one. The development environment setup matters—get Python, VS Code, Git, and Arduino IDE configured correctly before writing a single line of code. Start with hardware projects that produce visible outcomes (LED control, sensor reading, automated responses), then progress through conditional logic, data logging, and eventually autonomous problem-solving. By month six, teenagers should be identifying real problems in their environment and designing Python-based solutions independently.
The goal isn't teaching Python—it's building engineering capability. The syntax is just the tool that unlocks control over physical systems, data analysis workflows, and automation tasks. That same foundation prepares them for advanced STEM competitions, robotics development, machine learning projects, and eventually professional development work. Focus on concrete milestones, maintain consistent practice, connect to real outcomes, and watch them build something genuinely useful.