
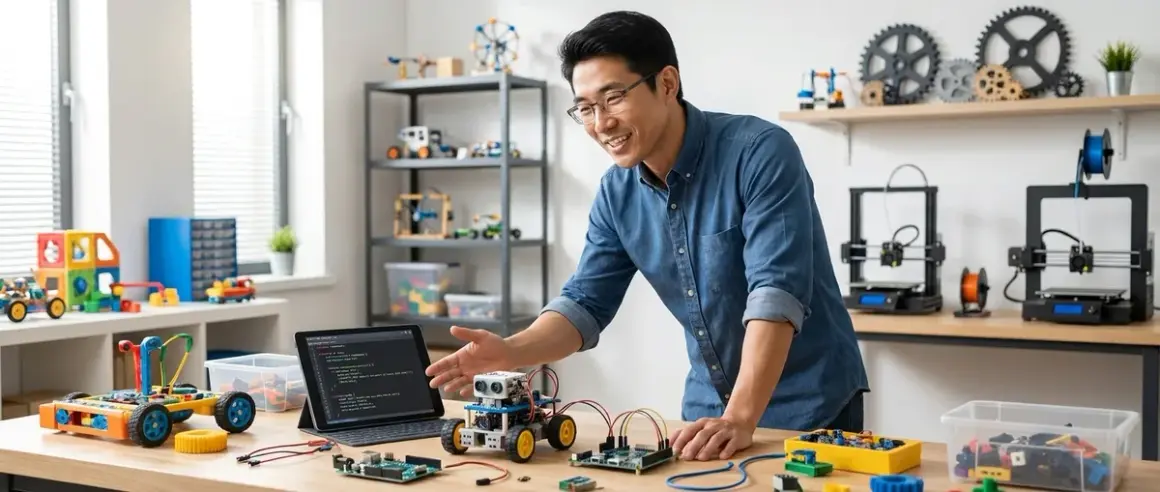

Twelve is the pivot year. It's when kids stop following assembly instructions and start asking "what if I changed this?" The stem by design strategies and activities for 12 year olds I'm breaking down here aren't about entertainment—they're about building real capabilities that map directly to professional tools. I've watched hundreds of sixth and seventh graders move through our fabrication lab, and the ones who get systematic design practice at this age hit the ground running with CAD software, microcontroller programming, and fabrication equipment by fourteen.
This guide unpacks the complete framework: what design-based STEM learning actually means, how it differs from activity books, and which specific tools and platforms prepare twelve-year-olds for industry-standard workflows.
What Is STEM by Design?
STEM by design flips the traditional model. Instead of teaching science concepts first and then finding applications, you start with a design challenge—a problem that demands solutions—and pull in the science, math, coding, and engineering as necessary tools to solve it.
When I say "design," I mean the iterative engineering design process: define the problem, research constraints, ideate multiple solutions, prototype, test, analyze results, refine. Rinse and repeat. This isn't art class. It's the same cycle used in mechanical engineering firms and product development labs.
For twelve-year-olds specifically, stem by design strategies and activities mean moving beyond pre-scripted kits. At this age, kids have the abstract reasoning to handle variables, the fine motor control for precision assembly, and—critically—the frustration tolerance to iterate through failures. They can read datasheets (with guidance), understand why their bridge collapsed (load distribution, material properties), and modify code when the sensor isn't behaving.
The goal isn't just "exposure." It's capability building. By the end of a well-structured design sequence, a twelve-year-old should be able to independently identify a problem in their environment, sketch three potential solutions, pick one based on feasibility analysis, build a functional prototype using real tools, test it against measurable criteria, and document the process clearly enough that someone else could replicate their work.
That's professional-grade thinking. And yes, middle schoolers can do it—I've seen it repeatedly.
How Design-Based STEM Learning Works
The engineering design cycle is the engine. Every activity, whether it's designing a water filtration system or programming an autonomous robot, follows the same six-phase loop.
Phase 1: Define and Research
Start with a constrained problem statement. Not "build something cool" but "design a device that can sort recycling by material type using only one sensor." Specificity matters. Constraints force creative problem-solving.
Research comes next. What sensors detect material properties? How do motors create selective motion? What's the size limit? Budget? This is where twelve-year-olds learn to pull data from datasheets, watch manufacturer tutorials, and—here's the skill—distinguish useful information from noise.
I've found that giving kids a research template (problem parameters, existing solutions, material properties, technical limitations) keeps them focused. Otherwise they disappear down YouTube rabbit holes.
Phase 2: Ideate Multiple Solutions
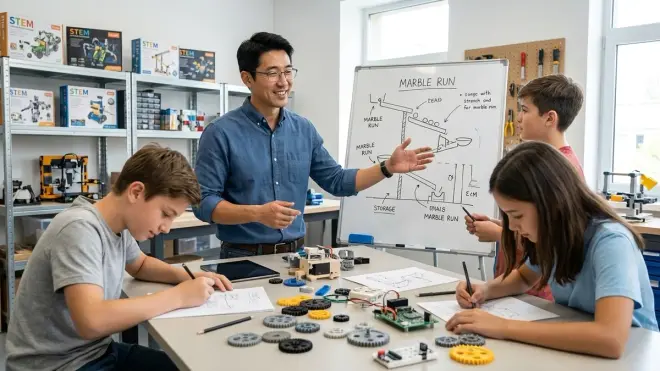
Sketching. Lots of sketching. The rule in our lab: three different approaches minimum before you're allowed to pick one. This prevents "first idea syndrome" where kids lock onto a mediocre solution because it's the first thing that popped into their heads.
Twelve-year-olds can handle basic CAD at this stage. I've had great results with Tinkercad for beginners (browser-based, free, exports STLs for 3D printing) and Fusion 360 for kids ready to learn parametric modeling (free for students, used in actual product design). The fundamentals of FDM 3D printing become relevant here when they realize their sketch needs to become a physical part.
Sketches should include dimensions and annotations. "Big motor" isn't enough. "Continuous rotation servo, 6V, torque rating 3.5 kg-cm" is actionable.
Phase 3: Build a Prototype
This is where the lab specs of your equipment matter intensely.
For electronics projects, a microcontroller platform is non-negotiable. I recommend the Arduino Uno R4 or Raspberry Pi Pico for twelve-year-olds. The Uno has better documentation and library support; the Pico is cheaper and introduces them to Python (MicroPython). Both use breadboards for prototyping—solderless, reusable, mistakes don't destroy components.
For mechanical builds, access to basic fabrication tools transforms capabilities. A small drill press, a coping saw, sandpaper, calipers (digital, under $20, accurate to 0.01mm), and a hot glue gun cover 80% of middle school projects. If you can swing it, a benchtop 3D printer like the Creality Ender 3 V3 SE gives them the ability to design and produce custom parts. After six months in our lab running daily, the Ender's been rock-solid—bed leveling is automatic, print failures are rare, and twelve-year-olds can operate it independently after two supervised sessions. The main frustration: spool changes require adult help because the filament path is finicky.
Power requirements: Arduino/Pico projects typically run on USB power (5V) or 4xAA battery packs (6V). Most servos and motors twelve-year-olds use need 3-12V and under 2A, which means wall adapters or rechargeable battery banks. Teach them to match voltage and check current draw before plugging anything in. I keep a basket of labeled adapters and battery packs with specs written on tape.
Phase 4: Test Against Criteria
Measurement. Data. Numbers.
If the challenge was "build a car that travels 3 meters," you time it and measure the distance. If it's "design a structure that holds 5kg," you load it and record when it fails. This is where scientific method integrates naturally—changing one variable, recording results, analyzing patterns.
Twelve-year-olds can use Google Sheets or Excel to log data and create graphs. The skill progression: hand-written tables → spreadsheet entry → formulas for calculations → charts to visualize trends. By the end of a design unit, they should be generating line graphs and bar charts independently.
For coding projects, "testing" means debugging. Does the sensor read correctly? (Serial monitor output.) Does the LED blink at the right interval? (Measure with a phone timer.) Does the servo sweep through the full range? (Visual inspection, protractor measurement.)
The breakthrough moment: when a kid realizes their assumption was wrong and the data proves it. "I thought adding more weight would make it faster, but the graph shows it actually slowed down after 50 grams." That's engineering.
Phase 5: Analyze and Iterate
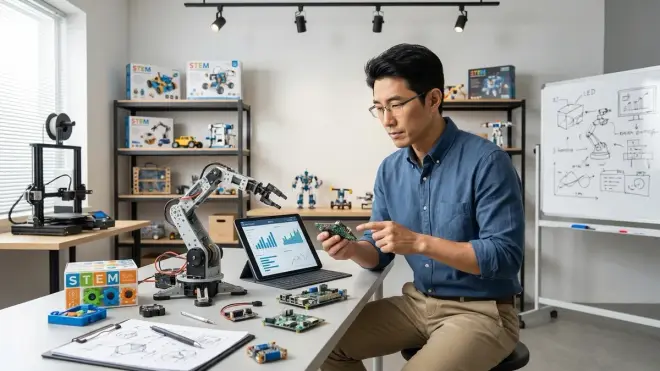
What worked? What didn't? Why?
The "why" is where science content enters. The car slowed down because friction increases with normal force. The bridge collapsed because the compression members buckled—material yield strength matters. The code crashed because the array index exceeded the bounds—off-by-one errors are real.
I require kids to write a two-paragraph analysis after each test cycle: one paragraph describing results (with data), one paragraph explaining the physics/math/logic behind those results. It's painful for them at first. By the third project, they're doing it automatically.
Iteration means making a specific change based on the analysis. "I'm switching from cardboard to balsa wood because the bending strength is 10x higher" is an informed iteration. "I'm going to try gluing it differently" is random thrashing.
Good stem by design strategies and activities for 12 year olds build in time for at least two full iterations. One prototype is a craft project. Three prototypes with documented improvements is engineering.
Phase 6: Present and Document
Final step: communicate the process and results to an audience.
Professional engineers write reports, give presentations, and document designs so others can build from their work. Twelve-year-olds can do simplified versions: a slide deck with photos and results, a build guide with step-by-step instructions, or a video demo with narration explaining design choices.
I've found that peer presentations—where kids present to other twelve-year-olds and answer questions—produce the best learning. They have to understand their own work deeply enough to explain it, and they see alternative approaches from classmates.
Documentation also means preserving design files. CAD models saved with clear filenames. Code uploaded to GitHub (yes, twelve-year-olds can learn basic version control). Photos of each prototype iteration. This builds habits that matter in professional settings—when you return to a project six months later, good documentation is the difference between "where was I?" and "I can pick this up immediately."
Why Design-Based STEM Matters for 12 Year Olds
This age is the capability window. Brain development supports abstract reasoning. Physical coordination allows precision work. But social pressure and self-consciousness aren't yet overwhelming. If a twelve-year-old learns to prototype fearlessly, iterate methodically, and analyze failures as data rather than personal shortcomings, those habits stick.
Compare this to activity-based STEM: follow instructions, build the thing, it works (or doesn't), move on. There's no ownership. No decision-making. No failure analysis. It's science entertainment, not skill building.
Design-based approaches put the kid in the driver's seat. They own the problem. They make the choices. They live with the consequences and figure out fixes. That's intrinsic motivation—they're not building it because the instruction booklet says to; they're building it because they want to solve the challenge they've accepted.
The robotics programming languages for kids they encounter in design projects—Scratch for visual logic, Python for text-based control, Arduino's C++ variant for hardware—are the same languages used in industrial automation, robotics companies, and embedded systems development. A twelve-year-old who spends a year doing design projects with Arduino and Python can transition to professional tools like ROS (Robot Operating System) or embedded Linux by high school. I've watched that progression. The gap isn't as wide as people think.
The meta-skill: systematic problem decomposition. Taking a large, ambiguous problem ("design a smart greenhouse") and breaking it into addressable chunks (sensor selection, data logging, threshold logic, actuator control, power management) is what separates junior engineers from senior ones. Twelve-year-olds who practice this in STEM projects apply it everywhere—research papers, debate prep, video game strategy. It's a cognitive framework.
Types of Design Challenges for 12 Year Olds
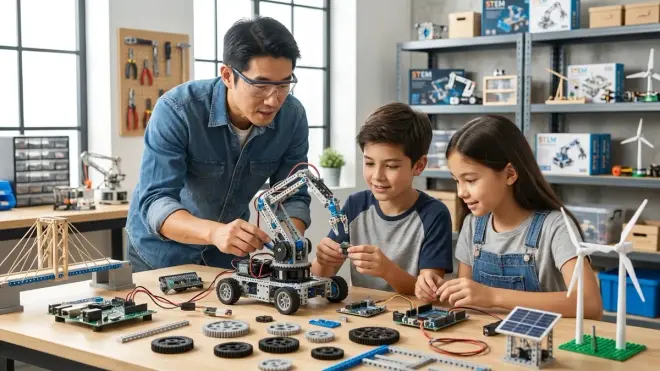
Not all design challenges are equal. Here's how I categorize them by skill domain and complexity arc.
Mechanical Design Challenges
Focus on structures, mechanisms, and forces. Examples: build a truss bridge that spans 50cm and holds 10kg; design a catapult that launches a ping-pong ball exactly 3 meters; create a vehicle powered only by a mousetrap spring.
Skills developed: Material selection, load analysis, mechanical advantage, gear ratios, potential vs kinetic energy, tolerance and fit.
Tools needed: Hand tools (saw, drill, files), measuring tools (calipers, ruler, scale), materials (wood, acrylic, cardboard, 3D-printed parts), fasteners. If understanding sequence, loops, and conditionals through physical play laid the cognitive groundwork earlier, these kids are ready to translate that logic into mechanical systems.
Progression: Start with static structures (bridges, towers), move to simple machines (levers, pulleys, inclined planes), then mechanisms with multiple moving parts (linkages, cam followers, gear trains).
Electronics and Sensor Projects
Focus on sensing, data, and control. Examples: build a weather station that logs temperature and humidity; design a line-following robot; create a soil moisture monitor that texts you when your plants need water.
Skills developed: Circuit reading, sensor calibration, analog vs digital signals, PWM control, serial communication, data logging.
Tools needed: Microcontroller (Arduino/Raspberry Pi Pico), breadboard, jumper wires, sensors (temperature, light, ultrasonic distance, soil moisture), actuators (LEDs, servos, DC motors), power supply. Understanding Python vs Scratch for teaching AI becomes practical when they're choosing how to process sensor data.
Progression: Single sensor + single output (thermometer with LED indicator) → multiple sensors + logic (robot that stops at obstacles) → data logging and analysis (week-long environmental monitoring) → wireless communication and IoT integration (sending data to a cloud dashboard).
The micro:bit is worth mentioning for sensor-rich projects. It has an accelerometer, compass, and temperature sensor built-in, plus easy expansion via edge connector. The micro:bit citizen science kits I've tested with middle schoolers work well for environmental monitoring challenges—water quality, air particulates, noise levels. The platform is less expandable than Arduino for advanced projects, but the onboard sensors and built-in display get kids to data collection faster.
Programming and Computational Projects
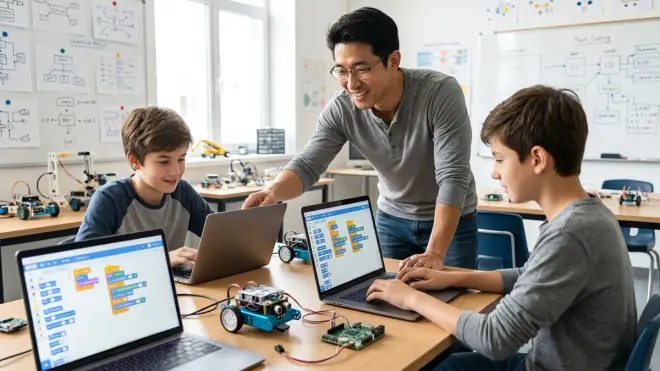
Focus on algorithms, logic, and data processing. Examples: write a program that generates unique mazes; create a game where an AI opponent learns from your moves; design a text-based chatbot that answers questions about a topic you've researched.
Skills developed: Variables and data types, loops and conditionals, functions, arrays/lists, file I/O, basic algorithms (sorting, searching), debugging strategies.
Tools needed: Computer (any OS), Python 3.x (free, cross-platform) or Scratch (browser-based). No special hardware required, though linking to physical computing (Arduino) later creates powerful combinations.
Progression: Text-based output (calculators, quiz programs) → simple graphics (turtle drawings, Pygame) → data analysis (reading CSV files, generating charts) → game logic and AI (Tic-Tac-Toe with minimax algorithm) → web scraping or API integration (pulling real data for analysis).
Integrated Multi-Disciplinary Projects
The capstone level: challenges that require mechanical, electrical, and programming skills simultaneously. Examples: design an autonomous delivery robot that navigates a course and deposits cargo; build a Rube Goldberg machine where sensors trigger each stage; create a smart home system that adjusts lighting and temperature based on occupancy.
Skills developed: System integration, subsystem interfaces, project management, troubleshooting across domains, tradeoff analysis (speed vs accuracy, cost vs performance, complexity vs reliability).
Tools needed: All of the above. These projects often take 4-6 weeks and require breaking the problem into modules that can be tested independently.
Progression: This is the end goal. By the time a twelve-year-old can successfully complete an integrated project—defining the requirements themselves, sourcing components, building and debugging each subsystem, integrating everything, and documenting it—they've achieved genuine engineering competency.
Lab Specs: Setting Up for Success
The physical environment and tool access determine what's possible. Here's what I consider essential, nice-to-have, and overkill for supporting stem by design strategies and activities for 12 year olds at home or in a classroom.
Essential Equipment
Worksurface: Dedicated table or desk, minimum 4'x2', with non-slip mat. Spills and cuts happen—protect the furniture.
Microcontroller kit: Arduino Uno R4 starter kit or Raspberry Pi Pico starter kit. Should include breadboard, jumper wires, LEDs, resistors, pushbuttons, sensors (ultrasonic, temperature). Budget around $50-80 for a complete kit.
Computer: Any laptop or desktop made after 2020, Windows/Mac/Linux. Needs USB ports for Arduino programming. 4GB RAM minimum for running Arduino IDE and Fusion 360 simultaneously.
Software: Arduino IDE (free), Thonny or Mu editor for Python (free), Tinkercad account (free, browser-based CAD), optional Fusion 360 educational license (free for students).
Hand tools: Phillips and flathead screwdrivers, wire strippers, diagonal cutters, needle-nose pliers, X-Acto knife, metal ruler, digital calipers. Total cost under $60 if you buy mid-tier tools. Harbor Freight works fine for twelve-year-olds.
Consumables: Cardboard, popsicle sticks, skewers, hot glue sticks, masking tape, zip ties, 22AWG hookup wire, electrical tape. Bulk purchases, budget $30 every six months.
Safety gear: Safety glasses (ANSI Z87.1 rated, around $5/pair), cutting mat, fire extinguisher in the room. Non-negotiable. I've seen too many close calls with wire cutters and hot glue guns. The complete 3D printer safety checklist for kids and teens extends naturally to broader lab safety practices.
Nice-to-Have Additions
3D printer: FDM printer like the Creality Ender series. Allows custom part fabrication. Budget around $200-250. Requires adult supervision initially, becomes independent operation after training. Filament costs about $20/kg; a twelve-year-old doing weekly projects uses roughly 1kg every 2-3 months.
Power supply: Benchtop variable DC power supply, 0-30V, 0-5A. Lets you test circuits at precise voltages without burning through batteries. Around $50-100. Overkill for pure beginners, invaluable once they're designing motor controllers and testing current draw.
Multimeter: Digital multimeter for measuring voltage, current, resistance, continuity. Helpful for debugging circuits. Around $20-40 for a reliable model (Fluke 101 is my recommendation—survives drops, clear display, auto-ranging).
Oscilloscope: USB oscilloscope like the Hantek 6022BE (around $60) or a standalone benchtop model ($150+). This is advanced—useful for debugging PWM signals, checking sensor waveforms, learning about analog electronics. Most twelve-year-olds won't need it in year one, but once they're designing motor drivers or radio circuits, it becomes the difference between guessing and knowing.
Soldering station: For when breadboard prototypes need to become permanent. I'd wait until they've done 5-6 breadboard projects before introducing soldering—it's a separate skill that can overwhelm beginners. When you do introduce it, get a temperature-controlled station (around $40), lead-free solder, brass sponge tip cleaner, and ventilation (fume extractor or work near an open window).
Overkill (Unless You're Running a Full Maker Program)
Laser cutter: Amazing for precision parts, but costs start at $300 for K40 models (which require significant tinkering) and go up to $3000+ for reliable desktop units like Glowforge. Great for classrooms or serious home fabrication labs. Not necessary for most twelve-year-old design work—a scroll saw and patience achieve similar results for this age group.
CNC mill/router: Professional-level tool. Steep learning curve, safety risks, and noise. Save this for high school or dedicated shop spaces.
Resin 3D printer: Higher detail than FDM, but the resin is toxic, requires gloves and ventilation, and the post-processing (washing, UV curing) adds complexity. FDM is the right choice for twelve-year-olds.
Connectivity and Platform Considerations
Arduino requires USB cable to program (comes with kit), but runs standalone after code upload. Battery-powered autonomy is straightforward—4xAA holder or LiPo battery with voltage regulator.
Raspberry Pi Pico programs via USB, but if you want WiFi for IoT projects, you need the Pico W variant (adds $1-2). MicroPython runs directly on the board; no internet required after initial setup.
Raspberry Pi 4 (full computer, not Pico) needs constant power (USB-C, 5V/3A), monitor, keyboard, mouse for setup. Can run headless (SSH access) after configuration, but that's a bigger learning curve. I'd stick with Arduino/Pico for twelve-year-olds unless you're specifically teaching Linux or advanced Python.
Expandability: Both Arduino and Pico use breadboards and jumper wires for connections, making expansion simple—add sensors by plugging them into unused pins. The Arduino has more mature library support (thousands of pre-written sensor libraries), while the Pico has faster processing (133 MHz vs 16 MHz) and more memory (264KB RAM vs 2KB on classic Arduinos). For 99% of twelve-year-old projects, either works.
Durability: I've dropped Arduinos from waist height onto concrete. They survived. The USB connector is the weak point—it'll snap off if yanked sideways. Teach kids to unplug by gripping the connector, not pulling the cable. Raspberry Pi Picos are even tougher—solid-state, no moving parts, and they cost about $4 each, so losing one isn't devastating.
Building a Progressive Learning Path
Random projects don't build skills efficiently. A structured progression means each project introduces 1-2 new concepts while reinforcing previous learning.
Here's the 12-month arc I use for twelve-year-olds starting with basic familiarity (they can follow instructions but haven't designed independently):
Months 1-2: Mechanical fundamentals
- Project 1: Design and build a paper bridge (folder paper, glue, no supports). Test to failure with weights. Learn about compression, tension, triangular bracing.
- Project 2: Build a rubber band-powered car that travels exactly 2 meters. Introduces variables (wheel diameter, gear ratio, tension), measurement, and iteration.
Months 3-4: Introduction to circuits and microcontrollers
- Project 3: Blink an LED using Arduino. Write code to create different blink patterns (Morse code, heartbeat, random). Learn digital output, delays, variables.
- Project 4: Build a "reaction game" with a button and LED. LED lights randomly; press button as fast as possible. Code measures reaction time. Learn digital input, millis() timing, serial output.
Months 5-6: Sensors and data
- Project 5: Create a distance-measuring tool using an ultrasonic sensor. Display distance on serial monitor. Experiment with accuracy at different ranges. Learn analog reading, sensor calibration, data logging.
- Project 6: Build a temperature alarm system. If temperature exceeds threshold, sound a buzzer. Log data for 24 hours and graph it. Learn conditional logic, thresholds, data analysis. For kids who showed interest in systematic data collection, the micro:bit citizen science kits offer ready-made sensor arrays.
Months 7-8: Motion and control
- Project 7: Control a servo motor with a potentiometer (knob). Learn PWM, map() function, actuator control.
- Project 8: Build a "line-following" sensor array. Two light sensors detect a black line on white surface; logic determines left/right. (No wheels yet—just logic and output.) Learn sensor fusion, threshold tuning, state machines.
Months 9-10: Integration and autonomy
- Project 9: Combine motors and sensors to build a robot that drives until it detects an obstacle, then turns. Learn motor control, sensor-to-actuator logic, autonomous behavior.
- Project 10: Design a "smart device" of their choice that solves a real problem in their environment. Examples: automatic pet feeder, plant watering system, garage door monitor. This is guided but student-directed—they define the problem and requirements.
Months 11-12: Advanced integration and documentation
- Project 11: Multi-week capstone challenge. Examples: robotic arm with 2-3 degrees of freedom, autonomous maze-solving robot, environmental monitoring station with LCD display. Requires CAD for custom parts, multiple sensors, complex code. Students work mostly independently with check-ins for troubleshooting.
- Project 12: Reverse-engineering challenge. Given a commercial product (cheap toy, simple appliance), disassemble it (safely), document how it works, and design an improvement or modification. Teaches analytical thinking and respects existing engineering.
This arc assumes one project every 3-4 weeks with weekly work sessions. Adjust pacing based on the individual—some kids blast through; others need more time per project. The key is that each step builds on the previous one, introducing complexity gradually.
For kids who already have coding experience, you can compress the early Arduino projects and jump to sensor integration faster. Conversely, if they're struggling with programming logic, consider spending extra time on understanding sequence, loops, and conditionals through physical play before introducing text-based code.
Connecting Design Work to Industry Standards
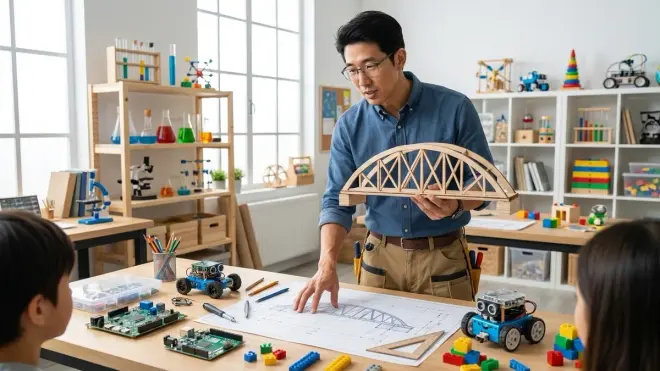
One question I hear constantly: "Is this real engineering, or just kid stuff?"
It's both. And that's the point.
The tools twelve-year-olds use in design projects aren't toy versions—they're the actual tools, scaled appropriately.
Arduino is used in professional prototyping. I've built commercial product prototypes with Arduino. Plenty of startups ship products with Arduino-based controllers. It's not just an educational tool—it's a rapid development platform that engineers use when speed matters more than optimization.
Python is one of the top three languages in professional software development. Data scientists, web developers, automation engineers, and researchers use Python daily. A twelve-year-old learning Python for robotics is learning the same syntax and libraries (with simpler applications) that a machine learning engineer uses at Google.
CAD software like Fusion 360 is what product designers and mechanical engineers use to design everything from phone cases to automotive parts. A twelve-year-old learning to create 3D models, apply constraints, and export manufacturable files is learning professional CAD workflows. The only difference is scale and complexity—professionals model assemblies with hundreds of parts and tight tolerances, but the underlying principles (sketches, extrusions, constraints, Boolean operations) are identical.
The engineering design process itself—define, research, ideate, prototype, test, iterate—is formalized in standards like ISO 9001 quality management and taught in every accredited engineering program. It's not a teaching gimmick. It's how products get developed in the real world.
The gap between a twelve-year-old's design work and professional engineering isn't the process or the tools—it's the depth of domain knowledge and the scale of constraints. A professional has to consider regulatory compliance, manufacturing cost at scale, supply chain logistics, reliability over 10,000 operating hours, and dozens of other factors. A twelve-year-old focuses on "does it work?" and "can I build it with available materials?"
But the thinking—the problem decomposition, the analysis, the iteration—is the same. That's why kids who do serious stem by design strategies and activities for 12 year olds transition into high school engineering classes and advanced maker programs so smoothly. They've already learned to think like engineers. The technical knowledge fills in around that framework.
Frequently Asked Questions
What's the difference between STEM activities and STEM by design?
STEM activities typically follow pre-written instructions to demonstrate a concept—building a volcano, launching a rocket, assembling a kit—where the outcome is predetermined and success means matching the example. STEM by design gives students an open-ended challenge with constraints and lets them generate solutions, requiring independent decision-making, iteration through failures, and documented analysis. The difference is between following a recipe and creating a dish to meet specific taste requirements—one teaches procedures, the other teaches problem-solving.
Can my 12 year old do design projects without prior coding or building experience?
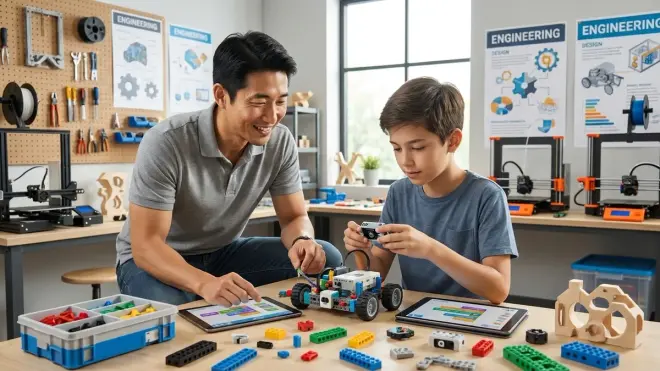
Yes, but start with the mechanical projects first. Building bridges, catapults, and vehicles teaches the design cycle—sketching, prototyping, testing, iterating—without the added cognitive load of syntax and circuits. After 2-3 mechanical projects, introduce electronics with heavily guided first attempts (step-by-step tutorials for the first Arduino blink program, for example), then gradually reduce scaffolding. Expect the first few months to feel slow; by month four, most kids find their stride and start working more independently.
How much should I budget for a year of design projects at home?
Essential equipment (Arduino kit, hand tools, consumables, safety gear) runs around $150-200 for the first setup, then $50-100 per year for consumables like materials, wire, and batteries. Adding a 3D printer brings the initial investment to around $400-450 total, with an extra $60-100 annually for filament. If you're supplementing school STEM rather than replacing it, you can share equipment costs with other families or maker spaces—around $10-15 per project for materials if you're only buying what's needed for each build.
What's the best way to find design challenges appropriate for 12 year olds?
Look for challenges with clear constraints and measurable success criteria—distance traveled, weight held, accuracy of sensor readings, specific behavior programmed—rather than vague goals like "build something cool." Sources include engineering education sites (NASA's design challenges, Engineering is Elementary), robotics competition junior divisions (FIRST Lego League transitions well to custom builds), and maker community forums where people share project specs. The most effective challenges I've used combine a real-world problem with limitations that force creative thinking, such as designing a device to safely deliver an egg from a second-story drop using only paper, tape, and straws.
At what point should my child move from pre-made kits to custom design projects?
When they start asking "what if I changed this?" about the kit instructions, or when they complete a kit and immediately want to modify it, they're ready for guided design challenges. Typically this happens after 3-5 complex kits (LEGO Mindstorms builds, advanced snap circuit projects, multi-hour Arduino tutorials). The transition isn't binary—use hybrid projects where part of the system is kit-based (motor and controller from a robotics kit) but the mechanical design and specific behavior is student-defined. Some of the best unplugged coding robots under $100 serve as stepping stones precisely because they're modifiable—kids build confidence with the base system, then naturally start designing extensions.
Do design-based STEM projects require ongoing subscriptions or cloud services?
Most don't, and I specifically avoid cloud-dependent platforms for middle school work. Arduino and Raspberry Pi Pico programming happens entirely offline—download the free IDE once, and you're set. Tinkercad (browser-based CAD) requires internet but is free with no subscription. The main consumable costs are physical materials (cardboard, wire, electronic components, filament for 3D printing). Some advanced IoT projects use cloud dashboards for data logging (ThingSpeak, Adafruit IO), but these have free tiers sufficient for student projects. The only subscription-dependent products I'd flag are app-based robots that require active company servers—if the company folds, the hardware becomes useless—which is why I emphasize platforms with offline capability and open-source toolchains.
Summary
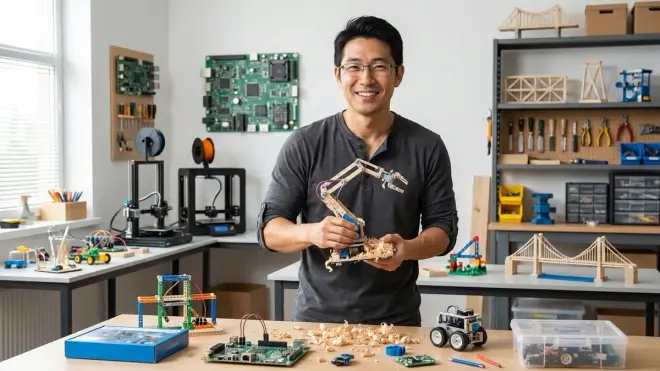
The stem by design strategies and activities for 12 year olds laid out here represent a capability-building framework, not a collection of one-off projects. The engineering design process—define, ideate, prototype, test, analyze, iterate—becomes muscle memory through repeated practice across mechanical, electrical, and computational domains.
Twelve is the age where abstract reasoning meets improved frustration tolerance and fine motor control. Kids who learn to prototype systematically, analyze failures quantitatively, and document their work clearly at this stage develop cognitive frameworks that scale to professional engineering work. The Arduino they're programming today runs the same code language used in embedded systems worldwide. The CAD software they're learning powers product design teams at major manufacturers. The iterative testing-and-refinement cycle they're practicing is formalized in ISO standards and taught in every accredited engineering program.
The gap between "kid project" and "professional work" isn't the tools or the process—it's the depth of domain knowledge and scale of constraints. Build that thinking now, and the technical knowledge fills in around it naturally.
I've watched hundreds of middle schoolers move through this progression. The ones who get systematic design practice at twelve don't just perform better in high school STEM classes—they think differently about problems everywhere. That's what we're building.